What does goat meat taste like? If you’re not sure, or have no idea, you must look over this article to find out all the information. Then, you can determine for yourself if goat meat is something that will suit your palate. Now read on.
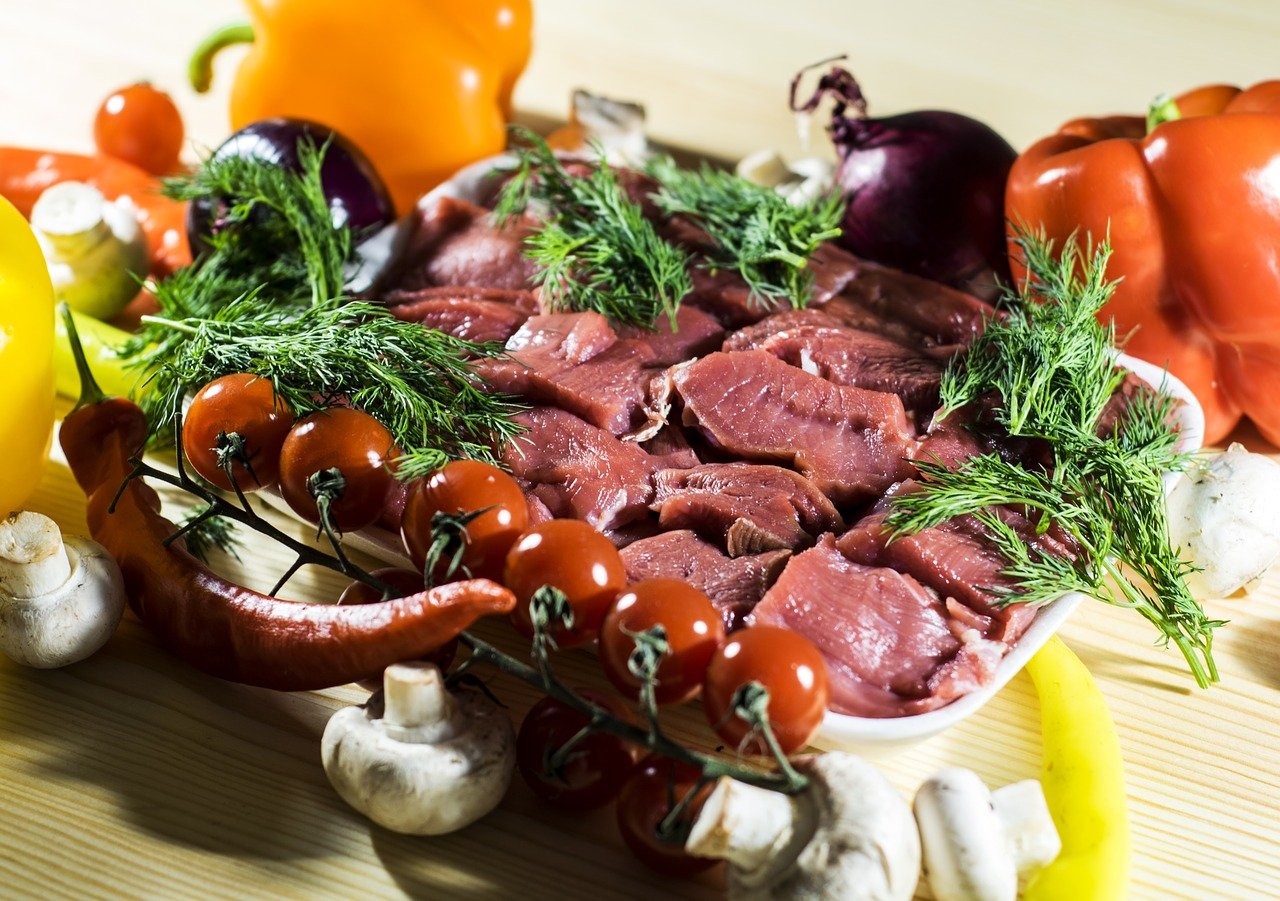
Goat meat is a slim and healthy substitute for beef. It is lower in cholesterol more fat, less cholesterol, and has more protein than beef. The meat can be prepared in a variety of ways, including pan-fried, barbecued, or roasted according to your taste.
Goat meat is an excellent ingredient to add to your diet. It’s rich in protein and iron but what is the flavor?
In this article, we’ll examine what the taste of a goat like, and the benefits of including it in your diet.
What exactly is Goat Meat?
Goat meat is the organs and flesh (such as livers, kidneys, and kidneys) of mature goats.
Humans have eaten it for thousands of years across many regions of the globe.
In countries like India, Pakistan, and Bangladesh in which large numbers of people can’t afford chicken or beef products goat meat is purchased at a very affordable price.
Meat also plays a significant part in the diets of certain societies because it has greater iron levels than other meats.
This is why it is particularly beneficial to mothers and babies.
The diversity of goat meat as a source of protein is particularly important in Africa where food insecurity is a major issue.
As with pork, beef chicken, lamb and other meats There are various cuts that people can select when cooking goat meat.
Goat meat is characterized by a strong taste that is best described as gamey due to its distinctive “goat-like” scent.
The flavor is frequently similar to beef or lamb dependent on the type of goat meat that is served.
A lot of people don’t eat this kind of meat because they’re not accustomed to it. However when exposed to it to it, people will be more likely to like dishes made of goat’s meat.
What does goat meat look like?
The first thing you’ll be able to notice about goat’s meat is the bones.
Goat has a greater bone-to-meat ratio than other types of meat This makes it easy to spot any imperfections on the outside.
When you buy a goat at the local supermarket or butcher shop be sure to check for any bruises or cuts which may be hidden behind the skin or the fat layer.
When you cut into goat meat, you’ll see it’s fat is more thicker than other meats.
But, it does not mean it’s unhealthy to take a meal.
Numerous studies have demonstrated that those who consume more red-meat, such as beef and lamb have a lower risk to suffer from cancer or cardiovascular disease.
Like any other cut of meat, ensure that the portions are nutritious by tracking the amount of pounds (or grams) that you’re eating in one go.
The problem with goats is that they can be difficult to locate in the event that you aren’t sure where to search.
It’s not like going to the supermarket and seeing them displayed for everyone because each state has its own rules concerning livestock farming.
Nutritional and Health Benefits of Goat
Goat meat is healthy and tasty substitute for pork, beef or chicken.
It’s low in cholesterol, fats and sodium, but is it is high in protein and iron.
Goat meat isn’t only healthy for you It is also delicious to eat.
Goats are the fourth-most popular farm animal in the world following cattle, pigs and chickens.
They are able to consume numerous kinds of food which other animals aren’t able to eat like dry leaves, or plants that are tough This makes them very effective in clearing fields.
About one-third of goat owners feed their animals as they make less milk than cows do. However dairy products produced by goats like yogurt or cheese are made using fresh, unpasteurized goat’s dairy they offer more health benefits that cow’s milk provides.
The lower amount of fat in goat meat can help lower the risk of many illnesses like heart disease, for instance because the meat is very low in sodium and cholesterol.
Goat meat is also high levels of iron, which aids in the formation of hemoglobin, blood cells for oxygen transport and production of energy.
These advantages make goat meat an excellent culinary delight that is a staple of the diet without worry of adverse health consequences.
When you incorporate goat into your diet you ensure that you are getting the nutrients your body requires to be healthy all in one meal.
What does goat meat taste like?
This is an arduous question to solve. Goat has been consumed since the beginning of time and all over the world however, the exact taste of goats can be difficult to determine.
Goat meat has an enlargement of fat than beef, however this doesn’t mean that you shouldn’t be eating it if you’re trying to adhere to an obesity diet or something similar to it.
Goat meat is distinctive in its taste and should be prepared with a few modifications to take into account its high fat content. The taste of goats is like lamb than cattle, since the latter eat mostly grasses.
This is why you’ll often find goat meat cooked in the same way as lamb, be it cooking it for tacos, Gyros or some other dish.
Goat is a meaty taste and can be ground up to make patties that are similar to beef burgers.
Its texture is more similar to that of cow than chicken and, therefore, when cooking with this kind of animal protein, there are a lot of choices available, beyond grilling chops on your barbecue.
Goat is either soft or tough, based on how it is prepared.
It’s got a distinctive taste that some enjoy but others find too intense for their taste buds.
Goats are known for their strong smell , which many refer to them as “goaty”.
What is the Curry Goat Taste Like?
Curry goat is a popular dish which originated in the Caribbean It is a dish that originated in the Caribbean, and at initial glance it might appear like a strange option for Jamaican food.
This dish has been popular in the island since the colonial era.
The curry is made up of a mix of spices that include the following spices: thyme and turmeric, cumin coriander, chili peppers.
The ingredients are simmered together with tomatoes, to create the base of the dish.
It is cooked prior to being cooked in butter or oil to bring about the actual taste.
This process can be repeated by heating the goat at an increased temperature until the internal juices are in contact with the heat.
The curry will thicken because the moisture is evaporated from the pot as time passes. Meanwhile, onions cook in butter or oil.
This can eventually simmer on low heat for hours, creating an aromatizing stew-like consistency.
The curry can vary in its strength based on the area and cook however, it will generally have an earthy flavor, which may be quite spicy if you would like the spice to go that way.
It’s typically served with rice or peas and roti.
Which one is better? Better Lamb or Goat?
Lamb, which is the meat of young sheep is commonly said to have a flavour like beef, with some touch of game.
Lamb is usually grown or processed as grass-fed and therefore, lamb is likely to be earthy or grassy in flavor as well.
While lamb and goat are both known for their gamey flavor, goat’s meat is regarded as sweeter and more mild than lamb.
Lamb is characterized by more fat and has more marbling than goat meat as well as the flesh itself has light red.
This makes lamb have a more robust flavor, fattier taste and a more robust texture than goat meat. Lamb is soft when cooked and contains more water than goat.
The lamb’s flavor can differ according to the cut you select.
For instance, because leg meat is lower in fat than ribs or shoulder and ribs, it has less flavor and taste, which is comparable to turkey that is white in its meat.
If the lamb is cooked using mint, instead of thyme for instance it will impart distinct flavors in the food.
When you cook goat or lamb there are many options of cooking techniques to pick from braising creates tender and tasty dishes that are tender and rich.
Grilling results in lighter meats and crisp exterior textures that are ideal for summer barbecues.
The goat’s tenderness may be a factor as well.
Although some may prefer it in cooking techniques as lamb meat, it’s worth noting that the meat of younger goats is thought to be less tender in general, so you’ll need to cook them at a low heat and allow plenty of time to cook them before they’re done.
Don’t let your taste buds decide this decision for you – test both and decide which you prefer.
Grill up whole shoulder or a whole leg using mint instead of thyme for a variety of flavors and textures that will be a perfect match for any dish.
Lamb will prevail if there are no other factors in the equation, like availability (goat isn’t always simple to find) or individual preference.
Five interesting information about Goat Meat
Many Americans remain skeptical about goats as they consider them to be a rare delicacy and something strange and not their style. However, this perception is changing and lots of Americans are becoming more attracted to the meat of goats.
Have you never had a chance to try goat before? Are you interested in this particular meat and its increasing popularity? Do you want to satisfy your cravings by learning these interesting and interesting facts about goats.
- The goat is the most eaten meat of the world
While most Americans haven’t even had the pleasure of tasting goat, it’s a staple food across the globe.
Africans, South Americans, Central Americans, Middle Easterners, Indians, Australians and New Zealanders consume the most goat meat, though this delicious meat is popular throughout Europe too.
There are more people who eat goat than beef or chicken, and, surprisingly enough, goat milk is more well-known than cow’s milk in the world.
The growth in popularity is not showing any signs of slowing down. And it is the fastest growing segment of the global industry of livestock. Every day, more and more people are trying this delicious meat and falling in love with it.
- The popularity of goats has been increasing in the United States for almost 25 years.
The goat population within the United States started boom around 1993. In 1993, Australia as well as New Zealand exported several herds of the South African Boer goat into Texas.
Today proud Texans are fond of eating goat, and this trend is rapidly spreading to the across the northern part of the country as well.
- Goat meat is healthy
The consumption of goat meat isn’t only very popular. It’s also extremely healthy. It’s an animal of red origin, however it is lower in cholesterol and fat than pork, beef, or chicken. A 3 ounce serving of goat is just 122 calories. However, it has 23 grams of protein.
- Goat meat is environmentally-friendly
Goats are a green alternative to other meat animals. They are called a browser that means they are able to eat weeds and shrubs, not just grass.
This is generally an environmental footprint that is less than other animals that graze, such as cows. The notion that goats eat garbage is a myth. If you see an animal chewing on a can the likelihood is that he’s trying to break the glue that tastes sweet and is used to attach the label to the can.
In addition, goats do not have as much space as cattle do. It takes about one acres to feed the cow, but you can place anywhere between 10 – 15 goats per area of an acre.
Additionally, they are also more effective in their diet than cows. If you feed both a goat and a cow exactly the same quantity of food then you will have greater milk out of the goat. That’s stunning! As time passes, the changes are really adding to.
- The goat meat is delectable
Apart from the health and environmental advantages of goats, the meat is also delicious. It is sweet and has a slight spicy flavor that a lot of people adore. It’s also a versatile food. You can have goat as curries Mexican recipes, Jamaican stews or simply in a few pieces of bread for sandwich.
How to cook goat?
There’s no doubt that different types of goat have different cooking times , and require different oils and spices to impart flavor.
We will go over the method of cooking each cut of goat, and the spices that are recommended to use.
The leg of a goat is a fantastic choice when you’re looking for something that has more fat than other cuts such as loin chops or ribs.
Should this be the type of cut that you select be sure to not overcook them since they could dry quickly due to their high fat content.
Ribs Goat ribs are a fantastic cut since are low on fat as well as rich in flavor yet still moist when cooked correctly.
This is the ideal piece of meat that you can put on the grill, or grill in the pan with butter to make an unforgettable dish.
Loin Chops are of higher quality than other cuts, such as leg or ribs because they have less bone in them and more space for marbling.
The pieces cook quickly if cooked over medium-high heat. They can be prepared in one big chop, instead of in smaller portions, based on the preference of yours.
Shanks – Heating shanks with a lower temperature for a longer period of time is the best method to eliminate any connective tissue that is accumulating in the joints.
This is the result: a soft and delicious dish that is served with some mashed potatoes as well as vegetables for the perfect winter dish.
Oxtail may appear to be worth the effort because they’re only tails however, oxtails are among our top cuts to cook.
They are packed with a huge amount of collagen and, when braised correctly, they will become soft and succulent when the collagen melts into gelatin throughout cooking. It is perfect for serving to stewed or red wine tomatoes if are looking for something hearty.
Why is goat meat not sold in the stores?
Despite its wide-spread popularity in various countries, goat’s meat isn’t very popular in Westernized culture.
What can we learn from this?
The reason goat meat isn’t available in supermarkets is because there are a lot of misconceptions about it.
Many believe that goat’s meat is unpleasant stinks foul and is high in fat quantity.
Within the United States and Australia, the majority of goat meat is derived from goats that are raised on ranches or farms.
The flavor and quality of the meat vary in relation to diet, management techniques feeding supplementation and the season during the season they are killed.
A lot of people believe that since it contains a higher percentage of fat than some other kinds of meats. Consuming excessively can make you infected with cardiovascular disease, or elevated cholesterol levels.
This isn’t the case at all.
If you consume any kind of meat at all, the chances of becoming overweight are significantly greater than if eliminated all red meat.
Goat meat, which has a unique and distinct flavor is not for everyone.
Certain people might consider the flavor to be too sweet or a strong smell. Some may feel they’re eating animal’s liver by biting on goat’s chops.
It is high in fat (higher than that of lamb).This means it is more calorific and should be consumed in moderation.
Wrapping up
So, what exactly does goat meat taste like? The flavor of goat’s meat is different based on breed and age.
There are numerous cuts, such as the shoulder roast, loin cuts, leg steaks and ground steaks.
Goat is delicious when roasted with herbs like sage or thyme. If you’re looking for something different to experiment with this year in your kitchen Try it.
Goat meat is a distinct taste and advantages over lamb. Goat meat is generally characterized by a spicy taste, is low in cholesterol and fat, and high in protein. If you’re seeking a healthier method to include red meat into your diet, goat’s meat is a good and tasty choice to explore!

 Do chickens have breasts?
 Tamales?


 eached?


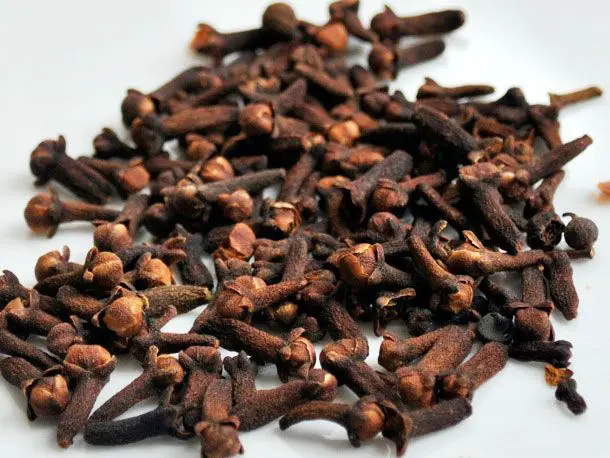
 clove smell like?


 hicken Look Like?