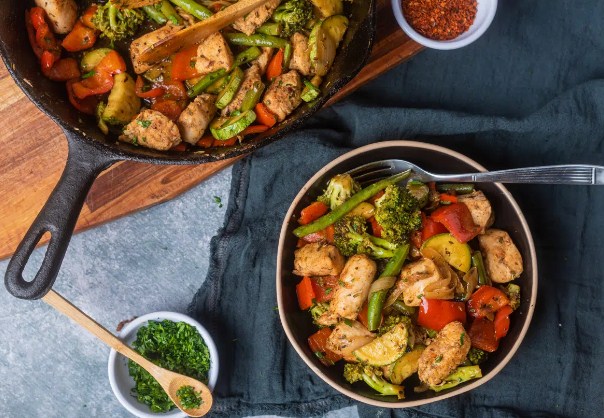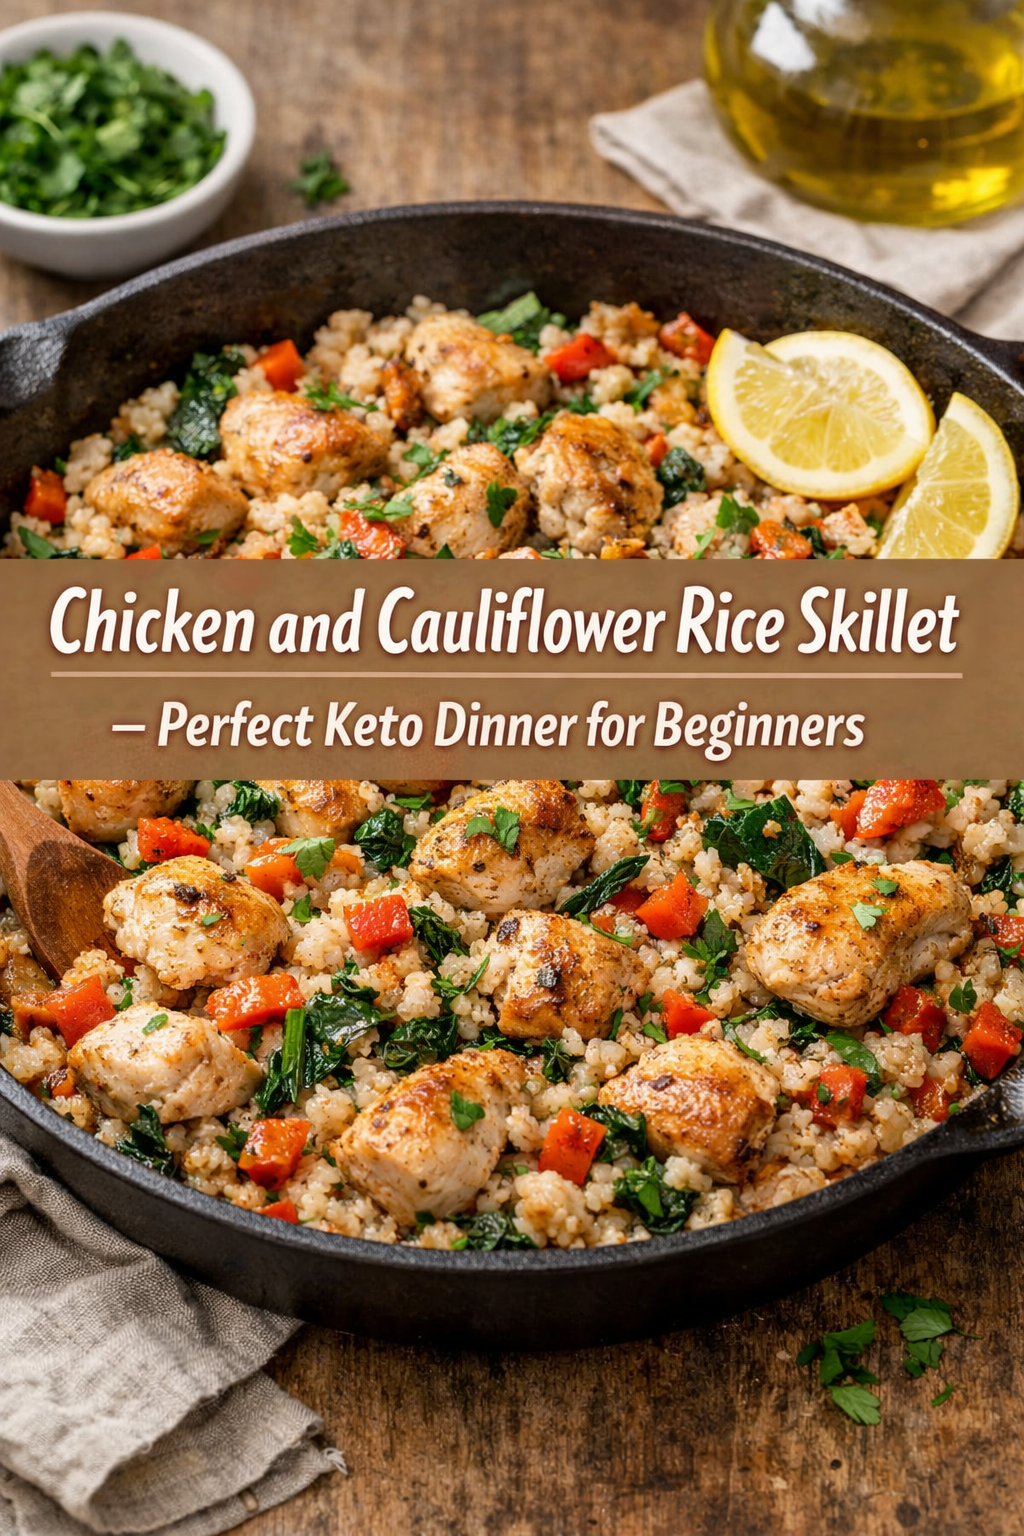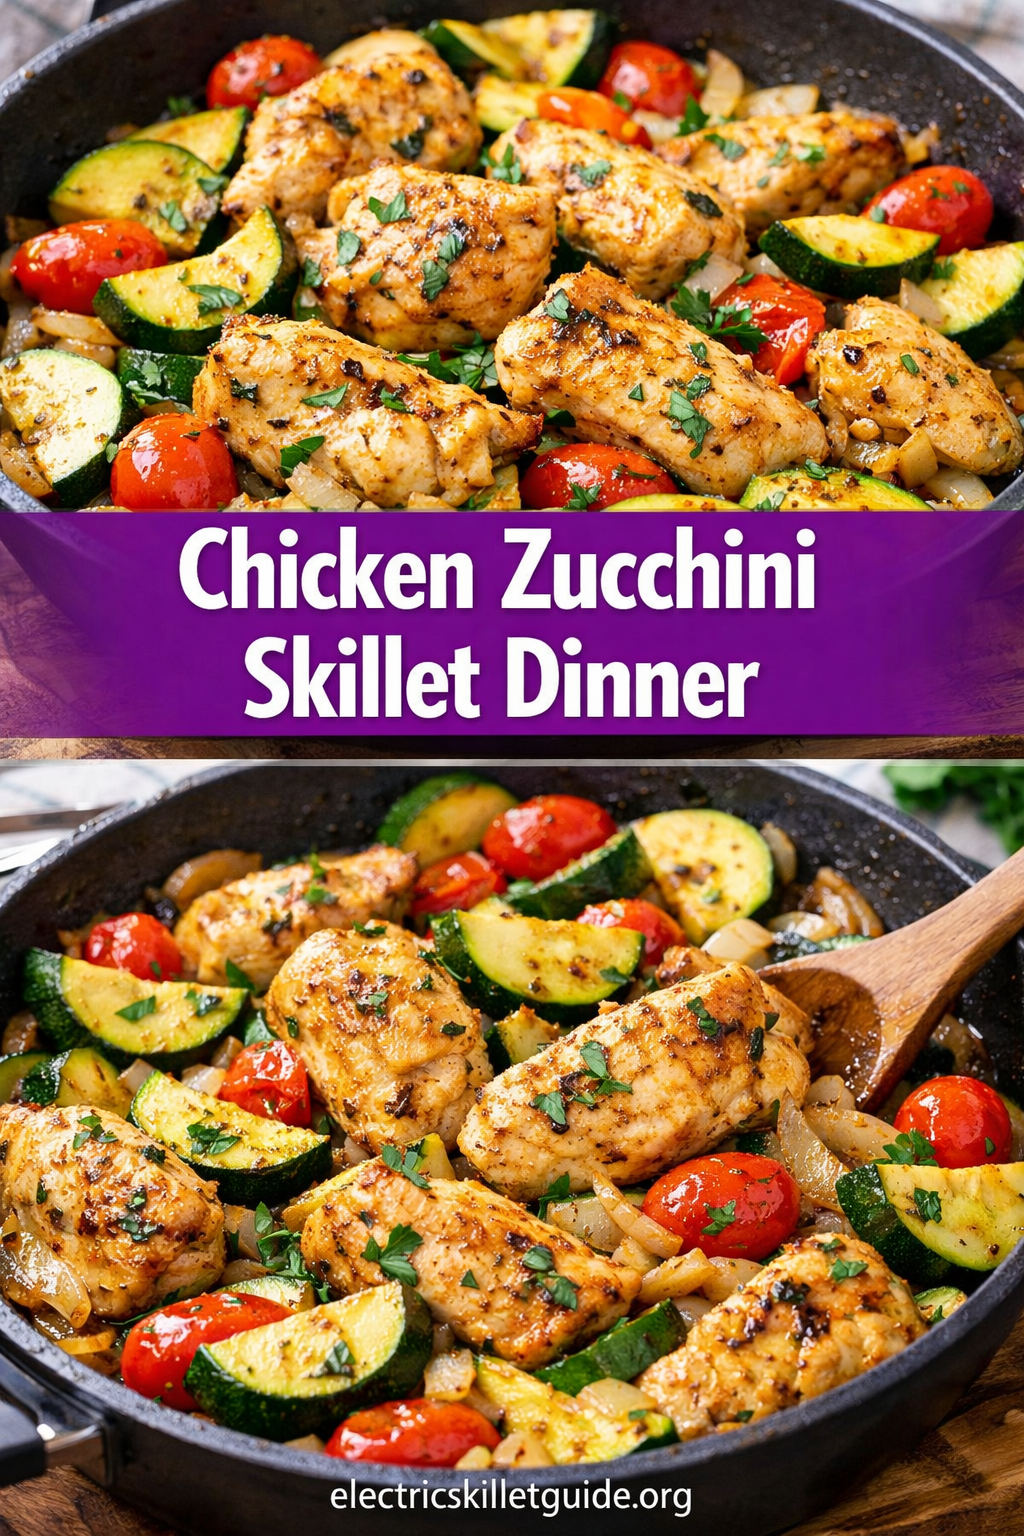
Chicken Zucchini Skillet Recipe
This chicken zucchini skillet recipe is a quick one-pan dinner ready in 30 minutes. Juicy chicken, tender zucchini, and bold flavors make it perfect for busy weeknights.
I’ll be honest with you — most weeknights, I’m standing in front of the fridge at 6 PM with absolutely no plan… and a zucchini that’s been quietly judging me from the crisper drawer for four days.
That’s pretty much how this chicken zucchini skillet recipe came into existence. Nothing fancy, no grand plan — just me trying to figure out dinner. And now? I’ve made it at least a dozen times in the past couple of months. Probably more.
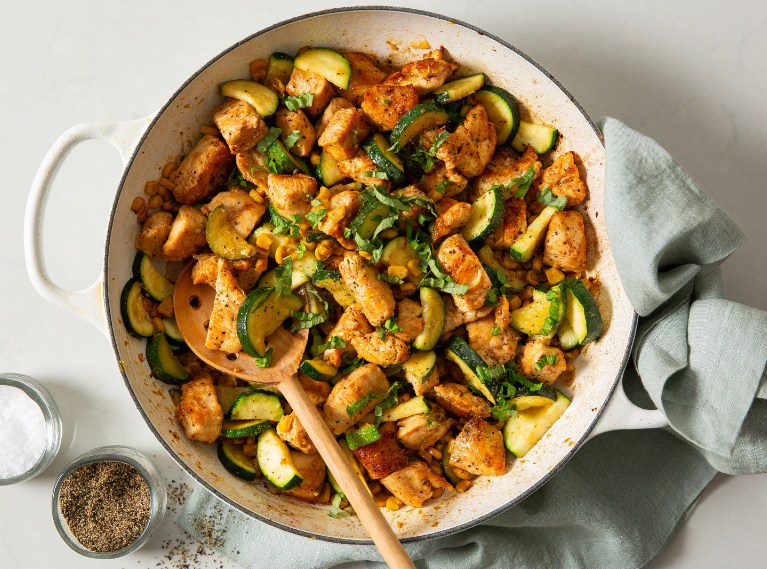
This dish is fast. Filling too. And everything cooks in a single skillet — which, honestly, is half the reason I keep coming back to it. The chicken gets golden and juicy, the zucchini soaks up all that garlicky, buttery flavor… and somehow the whole thing tastes like you put in way more effort than you actually did.
No complicated techniques. No “reduce gently while stirring with intention.” Just real food that turns out really, really good.
If you’ve been underestimating zucchini as a main-dish ingredient, this might change your mind.
Why You’ll Love This Recipe
First — it’s a one-pan meal. And I don’t say that lightly. Fewer dishes at the end of the night? That’s already a win.
Everything cooks in the same skillet, which means the flavors build on each other in a way that just doesn’t happen when you’re juggling three different pans.
Second, it’s flexible. Like, very flexible. You can take this in a bunch of directions depending on what you have lying around. Sun-dried tomatoes, spinach, a squeeze of lemon at the end — all of it works.
Third — and this surprised me a bit — the zucchini doesn’t taste overly “vegetable-y” here. It softens, picks up a bit of caramelization, and blends right into the dish. I’ve served this to a picky 10-year-old more than once, and not a single complaint. That says a lot.
It’s also naturally low-carb and gluten-free, which makes it easy to fit into different diets without trying too hard.
Serve it over rice, with bread, or just eat it straight from the pan. Not even kidding — I’ve done that more than once.
Ingredients
Here’s what you’ll need to make this chicken zucchini skillet recipe. Nothing complicated here — just simple, everyday ingredients.
For the chicken:
- 1.5 lbs boneless, skinless chicken breasts or thighs, cut into bite-sized pieces
- 1 teaspoon garlic powder
- 1 teaspoon onion powder
- 1 teaspoon smoked paprika
- ½ teaspoon cumin (optional… but I never skip it)
- Salt and black pepper to taste
- 2 tablespoons olive oil
For the skillet:
- 2 medium zucchini, sliced into half-moons
- 1 small yellow onion, diced
- 4 cloves garlic, minced
- 1 cup cherry tomatoes, halved (or one 14-oz can, drained)
- 1 tablespoon butter
- ½ teaspoon Italian seasoning
- Red pepper flakes to taste
- Fresh parsley or basil for garnish
- Parmesan cheese for topping (optional, but highly recommended)
That’s it. No last-minute grocery runs, no hard-to-find stuff.
Step-by-Step Instructions
Step 1: Season and sear the chicken
Cut your chicken into bite-sized chunks — not too small though, or they’ll cook way too fast and dry out.
Toss them with garlic powder, onion powder, smoked paprika, cumin, salt, and pepper. Just mix until everything looks evenly coated.
Heat your skillet over medium-high heat. Add the olive oil and let it get hot — you’re looking for a light shimmer here.
Add the chicken in a single layer. And try not to mess with it right away. Let it sit. That’s how you get that golden crust.
Cook for about 4–5 minutes per side until fully cooked. Then remove and set aside.
Step 2: Sauté the aromatics
Lower the heat to medium and add the butter right into the same pan.
Don’t wipe it out — seriously. Those browned bits stuck to the bottom? That’s flavor.
Add the onion and cook for about 3 minutes until it softens. Then add the garlic and cook for another 30 seconds — just until you can smell it. Don’t let it brown.
Burnt garlic… yeah, it ruins everything.
Step 3: Cook the zucchini
Add the sliced zucchini to the pan along with Italian seasoning and red pepper flakes.
Stir everything together and let it cook for about 4–5 minutes. You want it tender, maybe a little golden on the edges — but not mushy.
If it starts getting watery, your heat is probably too low. Just bump it up slightly.
Step 4: Add the tomatoes and bring it together
Toss in the cherry tomatoes and cook for 2–3 minutes.
They’ll start to soften and release their juices, which creates a light, slightly saucy base. Nothing heavy — just enough to bring everything together.
Add the chicken back in. Stir gently and let everything cook together for another couple of minutes.
Give it a taste. Adjust salt if needed.
Step 5: Finish and serve
Turn off the heat and top with fresh herbs.
If you’re using Parmesan, sprinkle it over while everything is still hot so it melts slightly into the dish.
Serve right away.
Cooking Tips
A few things I’ve learned after making this more times than I expected to:
Use chicken thighs if you can. They’re juicier, more forgiving, and honestly — they just taste better here. I know chicken breast is popular, but for this… thighs win.
Don’t skip the sear. Seriously. That’s where the flavor builds.
Cut your zucchini evenly. Not perfectly — just roughly the same size so it cooks at the same rate.
And don’t wipe the skillet between steps. I know it’s tempting. But that fond at the bottom? That’s basically free flavor.
Substitutions & Variations
This recipe is very forgiving.
Protein swaps: Ground chicken or turkey works great. Shrimp too — just add it at the end since it cooks fast.
Veggies: No zucchini? Use yellow squash. Or throw in mushrooms, bell peppers, spinach… whatever you’ve got.
Dairy-free: Skip butter and Parmesan. Use olive oil and maybe a bit of nutritional yeast.
Make it creamy: Add a few spoonfuls of cream cheese or a splash of cream at the end. It turns into something completely different — in a good way.
Spice it up: Add more red pepper flakes or even a bit of harissa. Or drizzle some hot honey at the end. Sounds weird, but it works.
What to Serve With It
This dish works on its own, but if you want to stretch it:
- Over rice (my go-to, honestly)
- Tossed with pasta
- With crusty bread to soak up the juices
- Over cauliflower rice for a lighter option
- As a meal prep bowl with quinoa and avocado
Storage & Reheating
Refrigerator: Keeps well for up to 4 days.
Freezer: You can freeze it, but the zucchini softens a bit after thawing. Still good though.
Reheating: Skillet is best. Add a splash of water or broth. Microwave works too — just stir in between.
📌 PINTEREST-FRIENDLY SECTIONS
Why This Chicken Zucchini Skillet Recipe Actually Works
A lot of recipes like this fall flat. Either the chicken is dry… or the zucchini turns into a watery mess.
The difference here is the order.
Cooking the chicken first builds flavor. Then the zucchini goes into that same pan and absorbs everything instead of steaming.
It’s a small thing — but it changes the whole dish.
Small Changes That Made a Big Difference
Switching to chicken thighs — big upgrade.
Using smoked paprika instead of regular — noticeable difference.
Adding butter — I used to skip it. I don’t anymore.
If I Were Making This Again Tomorrow
I’d do almost everything the same.
Maybe add a handful of spinach at the end. And definitely a squeeze of lemon before serving — that little bit of acidity really wakes everything up.
What I Skip When I’m Short on Time
Sometimes I don’t cut the chicken at all. I just cook whole thighs and shred them later.
And yeah… I’ve used jarred garlic. Not ideal, but it works.
FAQ
Can I use frozen zucchini? I wouldn’t recommend it for this recipe. Frozen zucchini releases a lot of water and tends to get mushy when cooked. Fresh zucchini gives you that slightly firm, caramelized texture that makes this dish work.
How do I know when the chicken is fully cooked? The internal temperature should reach 165°F. If you don’t have a meat thermometer (get one — they’re cheap and genuinely useful), cut into the thickest piece and make sure there’s no pink inside.
Can I make this ahead of time? Yes. You can prep the seasoned chicken and chopped vegetables up to 24 hours ahead and store them separately in the fridge. The actual cooking still takes about 25 minutes, but the prep work is done.
Can I add cheese directly into the pan? Yes! Cubed or shredded mozzarella melted over the top is absolutely delicious. Just cover the skillet for a minute or two to let the cheese get melty before serving.
Is this good for meal prep? It’s one of my favorite meal prep recipes. It holds up well in the fridge, reheats nicely, and pairs with so many different bases (rice, pasta, quinoa) that you can eat it several days in a row without it feeling repetitive.
My zucchini is getting watery — what went wrong? Two possible reasons: the heat was too low (zucchini steams instead of sautéing), or the pan was too crowded. Make sure you’re cooking on medium to medium-high heat and that the zucchini has room in the pan. If needed, cook it in batches.
Final Thoughts
Some recipes you try once and forget about.
This chicken zucchini skillet recipe isn’t one of those.
It’s the kind of meal you fall back on when you’re tired, low on groceries, and just need something that works. And somehow, it always does.
Simple ingredients. One pan. About 30 minutes.
That’s it.
Try it once — you’ll probably end up making it again. Maybe sooner than you expect.