Pizza Sauce Vs Marinara Sauce

Pizza Sauce Vs Marinara–what the real difference? If anybody asks you this question, if you are not knowledgeable, you won’t be able to answer properly. When you go through this article, I am sure you would be able to distinguish between the two and educate others about it. Read on if you are interested.
To begin with, though there are lots of ingredients involved in creating the perfect pizza, the sauce you’re making plays an essential part in the flavor that your pizza will have. It is the main ingredient in all the flavors and spices that you will find in your pizza.
Generally speaking, pizza sauce is utilized in every kind of pizzas, and it provides the taste you are used to when eating pizza. But, many people also include marinara sauce on pizzas to get different outcomes in terms of the pizza’s taste.
Both sauces could be excellent choices for making pizza. An Italian food that has invaded the whole world. However, if you wish to select the right one that suits your tastes and preferences, knowing the distinctions between pizza sauce and marinara is crucial.
In the beginning, when you hear the words marinara sauce or pizza sauce specifically, you’re likely to get confused. Aren’t they the identical? It’s not!
What is an important distinction between marinara sauce and pizza sauce? Pizza sauce can be described as a creamy tomato sauce created by mixing raw ingredients. It’s not cooked until it’s added to pizza. Marinara sauce cooks prior to being added to another dish. It also contains other ingredients, besides tomato sauce.
If you’re struggling to keep up, don’t fret since this afternoon we’ll be having deep discussion on the specific difference between marinara sauce and pizza sauce.
From production and ingredients through to nutritional value We’re working on everything!
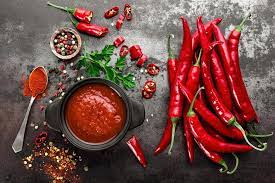
Pizza Sauce
Pizza sauce as can guess from its name is the sauce you put on pizza.
Today, we are aware that there’s more than one kind of pizza sauce, however the first type was a tomato-based sauce.
Many people are confused the tomato sauce of today with the proper tomato sauce that is meant for pizzas. This is why it’s given the term “pizza sauce” to better differentiate between them.
Today, a tomato sauce can be purchased in stores and is very processed, watered-down texture. It’s typically colored with food coloring agents and is stuffed with artificial flavorings and preservatives.
A good pizza sauce (a traditional tomato sauce) is made from fresh tomatoes, which are blended.
Certain seasonings can be included, such as salt or pepper, however there are no preservatives or other additives added. This tomato sauce is like an Italian pasta sauce made from tomatoes.
Every type of food and even the culture itself is unique to its own way of eating. Since pizza is Italian it is best to adhere to their definitions of “pizza sauce” and their recipes and methods to create the most authentic and delicious dish.
Pizza sauce: Ingredients
In the last century and years pizza sauce has evolved and then changed In our opinion the sauce has now been refined.
The most basic pizza sauces is very simple to prepare, with the most crucial element is the ingredients you use.
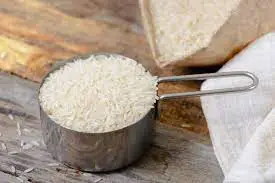
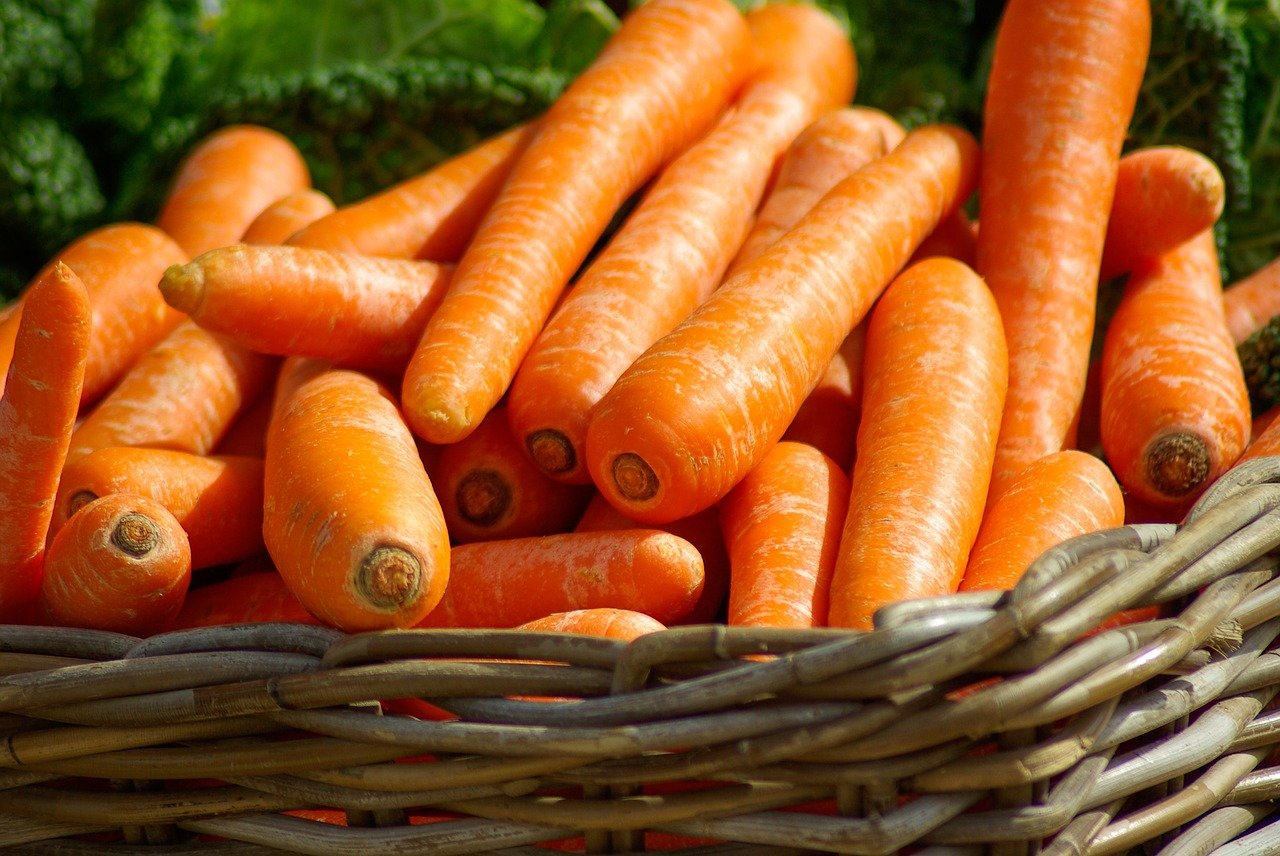
The foundation of any pizza sauce is comprised of tomatoes. Personally, we’d prefer to make use of fresh tomatoes, however If you’re not ready for the challenge, canned tomatoes or canned tomato sauces are extremely fresh and can suffice in some pinches.
If you are using canned tomatoes, use half peeled whole and the rest crushed. If you’re making use of fresh tomatoes then you’ll first have to prepare them prior to making sauce (we will go over this later in the section).
Sugar (white or brown sugar in granulated form) is a must because it helps cut through the rawness and acidity of tomatoes. Without sugar, the sauce will taste bland and boring.
The next step is to take a look at the essential ingredients of seasoning that include black pepper, salt as well as Italian seasoning.
Salt is a vital ingredient in every recipe and especially in savory dishes. The black pepper must be freshly crushed to give maximum flavor. Italian seasoning is a essential.
Italian spice is an Italian mixture of dried herbs such as rosemary, basil, oregano and Thyme. You can blend your own blend and add dried garlic flakes.
That brings us to our next ingredient that is garlic. As we’ve mentioned earlier, the addition of garlic flakes is an option, but using freshly chopped garlic is a better choice. Garlic is an extremely fragrant aroma that is essential in Italian food preparation.
We now proceed to more nebulous but highly suggested ingredients. This is only onions, fennel seeds parmesan and olive oil.
Finely minced shallots and onions function exactly the same way as garlic, and are a delicious. It makes a huge difference, and provides the texture and semi-sweet flavor.
The use of parmesan cheese in the recipe is totally optional, particularly in the event that you’re adding it as an ingredient.
Olive oil can be mostly used to thin the mix when needed. Olive oil is also a great source of flavor when compared to other oils such as canola or sunflower.
How To Make Pizza Sauce
This is how we create pizza sauce. There are many different ways to make pizza sauce however, this is our base recipe, and the ingredients we love to make it with.
Making pizza sauce doesn’t involve any cook-time. Some prefer to cook their onions, garlic and spices prior to mixing however we don’t believe it’s necessary because it cooks when it is added to pizza.
Simply add all the ingredients into an blender, and then blend it for just a few seconds. If you want your sauce to be thinner and smoother you can blend it for longer.
The ingredients we use are garlic, onions, Italian seasoning, parmesan cheese fresh basil leaves and tomatoes that are fresh.
Let’s discuss the situation with tomatoes. If you’re using fresh tomatoes First, remove the skin by boiling them in boiling water for one minute. Then, you can cut the whole tomato into pieces, and add them to the sauce base.
If you’re making use of canned tomatoes you can mix them into the recipe. It is possible that you will need to add additional sugar to counteract the acidity and metallic taste.
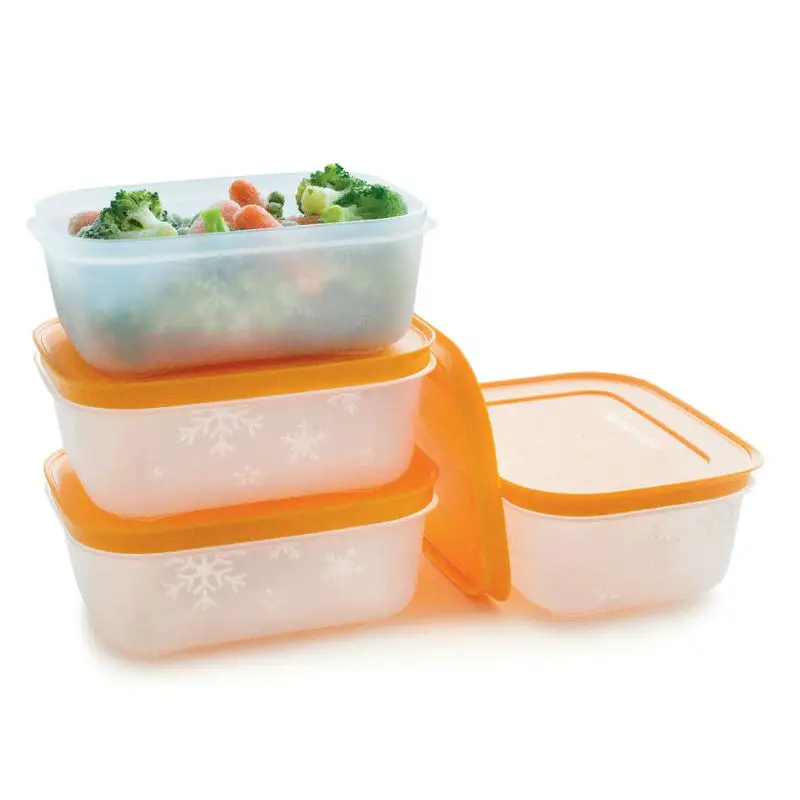
If you’re looking to get the most of your pizza sauce , and keep it for future pizzas in the future You can store your pizza sauce in the freezer after you’re finished.
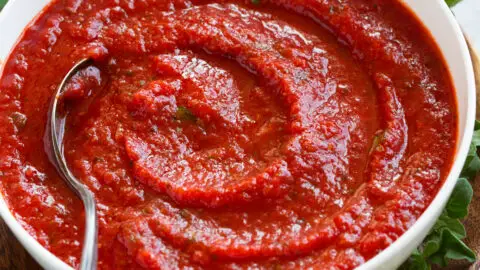
Characteristics
Based on the ingredients that are employed and the method of production If you follow the recipe correctly, the result should be that is thicker that is spreadable, but not a tomato paste in any way.
The color should be a bright red, and you’ll be able to smell umami aromas that are deep.
Uses
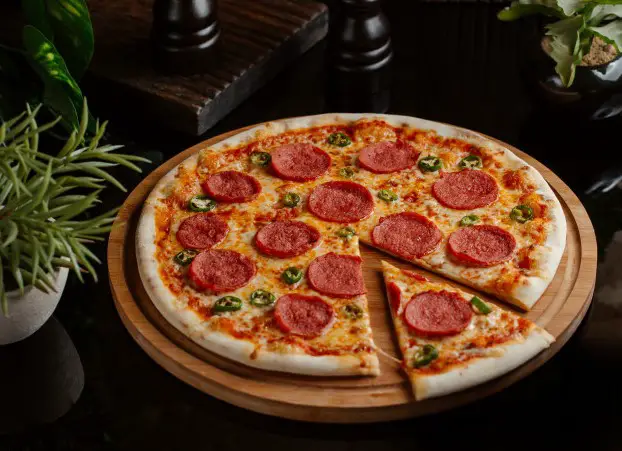
The way pizza sauce is served on pizza is as follows: Spread an even layer of sauce on the pizza prior to adding toppings and baking inside an oven or over an open flame. As we’ve already discussed that the sauce doesn’t need to be cooked before it is used.
Pizza sauce can be described as a flexible sauce that can be used in a variety of ways. We discussed at the beginning of this post how different cultures and cuisines have almost the exact same sauce, with some minor differences.
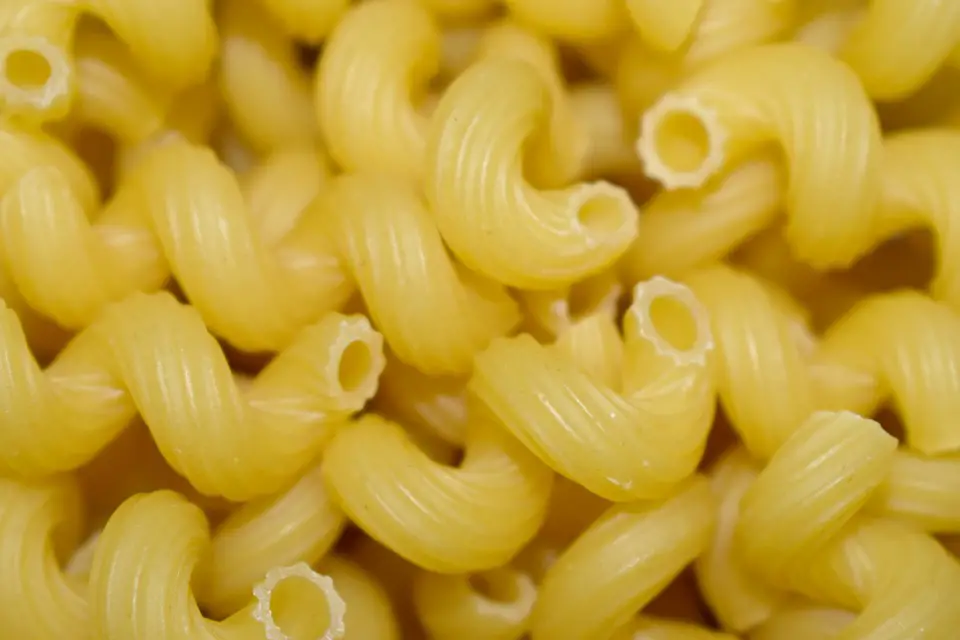
Pizza sauce is most often used to make pizza but it also can be used as a great sauce for pasta. You can mix it into pasta dishes or add other ingredients such as meat or vegetables.
It is also possible to transform the pizza sauce into a salsa by adding chilies, hot sauce and red onions, black beans and fresh tomatoes. The mixture becomes chunkier and also provides a lot of flavor.
Another intriguing use we’ve heard about recently is to make cocktails. Use your pizza sauce in place of tomato juice to make the Bloody Mary recipe! Pizza sauce is also an excellent marinating liquid for meat and vegetables.
Marinara Sauce
After having talked about pizza sauce in greater detail, Marinara sauce will go little faster, because the two sauces are very alike.
Marinara is also known as a tomato-based dish. Some refer to it as “tomato sauce.” It is also Italian and that is the reason why it is so common for people to confuse the two.
Marinara sauce isn’t always made with fresh tomatoes, but it does contain them. It uses pre-made tomato sauce (possibly even pizza sauce) which is incorporated along with other ingredients. The food is cooked prior to being mixed.
Marinara sauce :Ingredients
A marinara sauce can be described as easy to make and contains less ingredients, since the tomato sauce provides the majority flavors.
The tomato sauce is the principal ingredient, and it is the basis of the dish. Don’t mix tomato sauce with ketchup because they taste distinct and are utilized in various ways.
Other important ingredients include fresh basil leaves onions and garlic. There is a lot and plenty of garlic. This implies that the sauce is far more flavorful than pizza sauce.
The basil and onion both provide the traditional Italian flavors . You can’t create a marinara without them . Afterwards, it’s another sauce. Some prefer fresh tomatoes that have been diced to add more texture to their pasta.
Pepper and salt are both ingredients to be included However, some tomato sauces could already have enough, and you shouldn’t add too much salt to your delicious sauce.
If you’d like an additional hint of tang in your dish, you can try adding a dash of balsamic vinegar.
How To Make Marinara Sauce
Start by sautéing your onions diced with olive oil till they turn translucent. Then add the garlic and the other spices and cook for several minutes.
The process of frying allows the ingredients to release more flavor, and in the end makes the sauce richer and tastier.
After the aromatics are simmered after which you can mix in the tomato sauce, and simmer for around 10 minutes. Basil leaves should be then added in the last.
Many prefer to blend their marinara sauce once more in order to avoid having onion chunks , however some prefer to leave the sauce as it is. The final outcome is completely dependent on you.
Uses
After the sauce is made, only after that is it used in various recipes. It is used in nearly every way pizza sauce is. The major difference is that marinara is used in more methods than pizza sauce.
It is possible to use marinara to make basic items such as dipping sauces or pasta sauce as well as to create salsa.
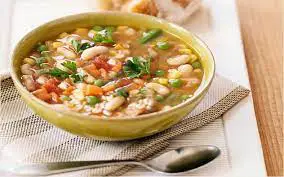
The most exciting methods to make it work are in meatballs, minestrone soup, and ratatouille. The reason behind its wide scope of use is because the sauce has already been cooked and doesn’t require any further cooking.
Final Comparison
What are the main differences between pizza sauce and marinara sauce? Let’s look at some of the similarities.
The similarities between marinara and pizza:
Sauces originate from Italian cuisine
The base ingredient is tomatoes.
Many aromatics like basil and garlic are included in some manner
Blended and have a delicate consistency, but are not as watery as tomato juice
In combination with other dishes or mixed into other dishes
The moment we’ve have been anticipating for. What are the real differences?
Let’s divide them into three primary distinctions: the ingredients and the method of production and the way in which they’re utilized.
Marinara might be simpler to make using a pre-made tomato sauce, however it’s actually more complex with more ingredients over the course of time. It could be made entirely from scratch.
This is due to marinara requiring additional ingredients in addition to pizza sauce, whereas tomato sauce is the basic version of tomato sauce.
The other major difference is in the method of cooking. Pizza sauce is blended and never cooked before being put on pizza. Then it is cooked in conjunction with the pizza or a different dish.
Marinara is cooked in advance, later blended, which means it can be consumed as-is, without needing any additional preparation.
The other difference is in the method in which they are utilized. As we’ve mentioned, pizza sauce is added prior to cooking, while marinara sauce can be added later however the sauces themselves can be used in different ways.
Marinara is a simple ingredient that can used in pastas to serve as a base to make other things, or it can be used as a dip sauce, topping for nachos.
Pizza sauce will well, and is perfect for pizzas and also casseroles that need to bake.
Pizza Sauce Vs Marinara
Are These Sauces Interchangeable?
As we’ve discussed in this article marinara sauce is created with tomato sauce. Since pizza sauce is actually a kind made of tomato sauce it can’t be used to replace marinara. It could, however, be used to create marinara.
Marinara is a good choice to substitute pizza sauce, particularly since it’s already cooked. However, it might not have the same sweetness to it, and more of a herbaceous taste.
Can you make pizza using spaghetti sauce?
You are able to however, only if you make the spaghetti sauce more thick, by adding more garlic and parm cheese.
Pizza Sauce vs. Spaghetti Sauce
For some, tomatoes-based (red) pizza sauces and the pasta can be interchangeable. There are others who notice the differences, however aren’t certain which one is. We can help you understand this check out the following: at these:
Pizza sauce is usually thicker than spaghetti sauce.
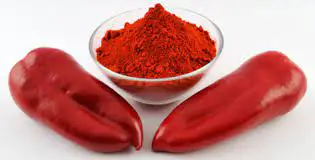
Pizza sauce can be stronger or more spicy than other however, not all pasta sauces. It is generally spicier and contains more red chili peppers, cayenne, and definitely more oregano than the generic pasta sauces. There are some who say pizza sauces are more garlic-based however that’s not the case and is contrary to our fashion.
Pizza sauce generally contains large amounts in crushed Parmesan cheese. Pasta sauces could contain multiple kinds of cheeses, but they usually be melted into the sauce (for absence of a better term). This is partly due to the different cooking techniques which allow longer cooking times to let the seasonings melt the cheese.
Pizza sauces tend to be slightly sweeter than genuine pasta sauces. Pasta sauces obtain their sweetness from the caramelization of vegetables or other processes, while pizza sauces typically contain sweeteners, such as sugar ground or honey. (Note you can’t forget that “canned” pasta sauce manufacturers often include sugar in their sauces in order to disguise acidity due to this same purpose.)
Pasta sauces typically concentrate on the subtle flavors that are developed through long or intricate cooking procedures. It is possible to use the caramelized onion, carrots bell peppers and other veggies to flavor pasta sauces, but not for pizza sauce. Pizza sauce is usually placed on pizzas without cooking it prior to serving.
One of the closest sauces for pasta that is comparable to a traditional pizza sauce is a marinara which we’ve explained in the previous paragraphs. Some pizza places offer marinara dip sauces to their pizza crusts or allow customers to use marinara sauce with their pizzas.
So, what sauce is the ideal for pizza?
Pizzas with tomato sauce are always popular, however there are other ways to make different, equally delicious recipes.
Wrapping up
Pizza Sauce Vs Marinara
So, now you are aware of the differences and similarities of both after having gone through this post–pizza sauce Vs Marinara. There are many different types of pizza taste with different varieties of pizza sauce. While factors like the crust or cheese can also affect the flavor, it’s this sauce, which has the largest function. From the many sauces available the marinara and pizza sauce are able to be considered to be two of the top choices. In order to assist you to select the ideal sauce for you I’ve provided the entire pizza sauce and marinara sauce comparison here. We hope this will help you make a decision on the type of sauce you’d prefer to choose for your own pizza preparation at home.