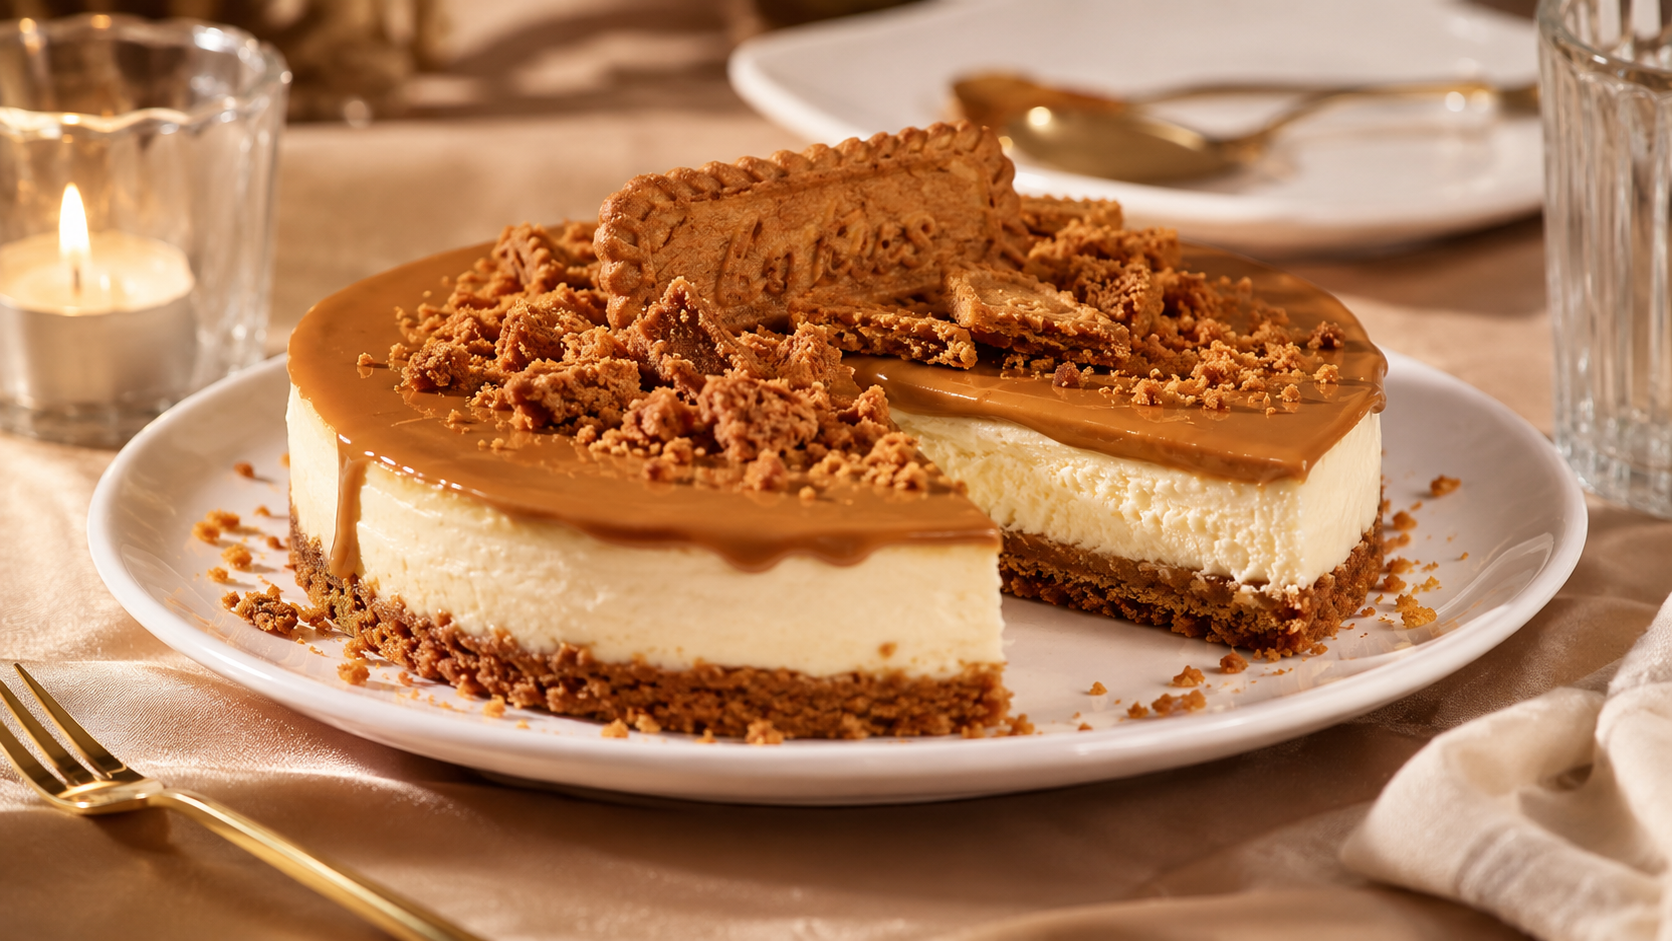
Lotus Biscoff Cheesecake Recipe
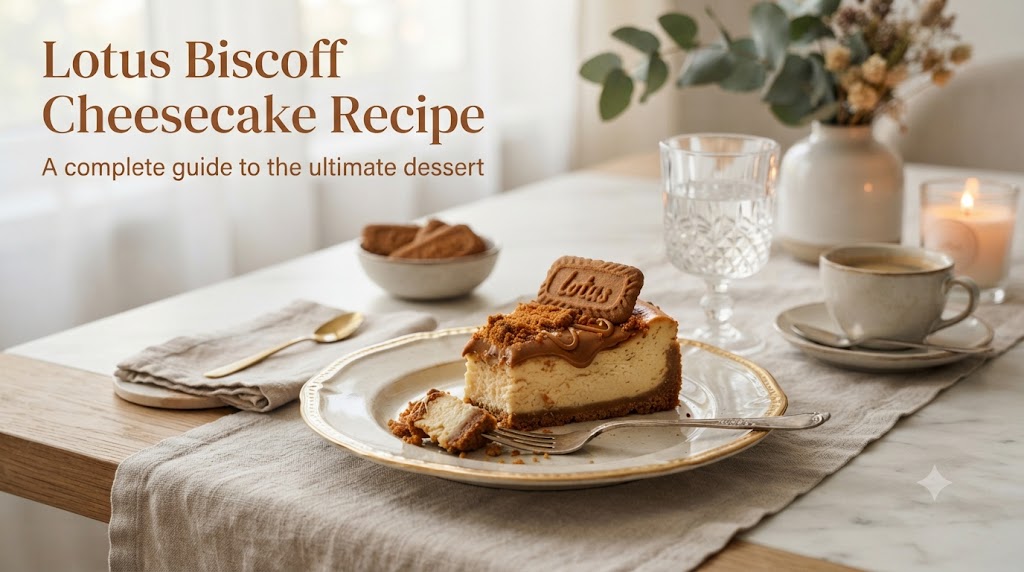
My Lotus Biscoff cheesecake recipe started as a Thanksgiving backup plan, and now it’s the thing people request by name. I’d burned a pumpkin pie (don’t ask) and needed something fast, so I grabbed a sleeve of Biscoff cookies from the pantry and just went for it. Three years later, my neighbor Karen still texts me every October asking when I’m “doing the cookie cheesecake thing again.”
There’s something about the combination of that caramelized, slightly spiced cookie flavor with rich cream cheese that just works. It’s not too sweet, it’s not fussy, and honestly, it looks way more impressive than the effort it takes. I’ve made this for potlucks, birthdays, and one very memorable Tuesday when I just needed cheesecake and didn’t feel like explaining myself to anyone.
Why You’ll Love This Recipe
This isn’t one of those desserts where you need six bowls and a stand mixer the size of a small car. You need a springform pan, a food processor (or a bag and a rolling pin, if you’re feeling aggressive), and about twenty minutes of active work. The rest is just waiting, which, fair, is the hardest part for me too.
The Biscoff cookies do double duty here. They form the crust, and then Biscoff spread gets swirled right into the cheesecake batter, so every bite has that toasty, brown-butter-meets-cinnamon flavor. My brother-in-law Mike, who claims he “doesn’t really like sweets,” ate two slices at my last barbecue and then quietly asked if there were leftovers. There weren’t. I checked.
It’s also forgiving. Cheesecakes have a reputation for being finicky and cracking if you look at them wrong, but this one’s pretty low-drama as long as you don’t rush the baking or the cooling.
Ingredients
For the crust:
- 24 Lotus Biscoff cookies, crushed into fine crumbs
- 5 tablespoons unsalted butter, melted
- 2 tablespoons brown sugar
- Pinch of salt
For the cheesecake filling: 5. 24 ounces cream cheese, softened (three 8-ounce blocks) 6. 3/4 cup granulated sugar 7. 1/2 cup Biscoff cookie spread, plus extra for swirling 8. 3 large eggs, room temperature 9. 1/3 cup sour cream 10. 1 teaspoon vanilla extract 11. 1 tablespoon all-purpose flour
For topping (optional but strongly recommended): 12. 6-8 whole Biscoff cookies, for garnish 13. 1/4 cup Biscoff spread, warmed slightly for drizzling 14. Whipped cream, if you’re feeling extra
Equipment Needed
You’ll need a 9-inch springform pan, a food processor or blender for the cookie crumbs, a large mixing bowl, a hand mixer or stand mixer, and a roasting pan big enough to hold the springform pan for the water bath. Aluminum foil is non-negotiable here — it keeps water out of your crust, and trust me, soggy crust is not the vibe.
Step-by-Step Cooking Instructions
- Preheat your oven to 325°F. Wrap the outside of a 9-inch springform pan tightly in two layers of heavy-duty aluminum foil, going up the sides, to prevent water from leaking in during baking.
- Pulse the Biscoff cookies in a food processor until they turn into fine crumbs. Add the melted butter, brown sugar, and salt, then pulse again until it looks like wet sand.
- Press the crumb mixture firmly into the bottom of the springform pan, using the back of a measuring cup to get it even. Bake for 10 minutes, then set aside to cool while you make the filling.
- Beat the softened cream cheese in a large bowl until it’s completely smooth, about 2 minutes. Scrape down the sides of the bowl — I skip this step more than I should, and I always regret it when I find little lumps later.
- Add the granulated sugar and beat until combined, then mix in the Biscoff spread until fully incorporated.
- Add the eggs one at a time, mixing on low speed after each addition. Overbeating here adds too much air, which is a leading cause of cracks, so keep the mixer on low.
- Mix in the sour cream, vanilla extract, and flour until just combined. Don’t overmix at this stage either.
- Pour the filling over the cooled crust. Drop small spoonfuls of extra Biscoff spread on top and swirl with a knife or skewer for that marbled look.
- Place the springform pan inside a larger roasting pan. Pour hot water into the roasting pan until it reaches about halfway up the sides of the springform pan.
- Bake for 55-65 minutes, until the edges are set but the center still has a slight jiggle. Turn off the oven, crack the door open, and let the cheesecake sit inside for 1 hour.
- Remove from the oven and water bath, then let it cool to room temperature on the counter. Refrigerate for at least 6 hours, though overnight is better.
- Before serving, top with crushed Biscoff cookies, a drizzle of warmed spread, and whipped cream if you’re using it.
Cooking Tips
Room temperature ingredients matter more than people think. Cold cream cheese and cold eggs cause lumps and uneven mixing, and I learned that the hard way the first time I tried rushing this on a weeknight. Set everything out about an hour before you start, and don’t skip this even if you’re impatient like me.
The water bath feels like a hassle, but it really does prevent cracking by keeping the baking environment humid and gentle. If you genuinely hate water baths, you can skip it, though I’d recommend baking at a slightly lower temp and accepting that a crack or two might happen. It still tastes the same, and honestly, a crack covered in whipped cream never hurt anyone.
Substitutions & Variations
You can swap the Biscoff cookies in the crust for graham crackers or digestive biscuits if that’s what’s in your pantry, though you’ll lose some of that signature caramelized flavor. Neufchâtel cheese works as a lower-fat stand-in for cream cheese, and light sour cream or plain Greek yogurt both work fine in place of regular sour cream. For a fun twist, add a layer of melted white chocolate to the crust before it sets, or mix chopped Biscoff cookies right into the batter for extra crunch. I tried adding a layer of dulce de leche once on a whim, and it was good, though it did make the whole thing almost too sweet, so I’d say use that one sparingly.
What to Serve With It
A slice of this cheesecake pairs really well with a simple cup of black coffee or a chai latte, since the spice notes in the cookies play nicely with both. Fresh berries on the side cut through the richness if you want something lighter. For a bigger spread, I’ve served this alongside apple crisp and vanilla ice cream at a fall dinner party, and nobody complained about dessert overload, which tells you something.
Storage & Reheating
Store the cheesecake covered in the fridge for up to 5 days. It also freezes well — wrap individual slices tightly in plastic wrap, then foil, and freeze for up to 2 months. Thaw overnight in the fridge before serving. This isn’t a dessert you reheat; it’s meant to be served cold or at cool room temperature, so just let a frozen slice sit out for about 15 minutes before digging in.
Cook and Prep Time
Prep time runs about 25 minutes, plus 10 minutes for pre-baking the crust. Baking takes 55-65 minutes, followed by a 1-hour rest in the oven and at least 6 hours of chilling (overnight is ideal). Total hands-on time is under an hour, though you’ll want to plan ahead since the chilling time is non-negotiable.
Nutrition Facts
Per slice (based on 12 servings): Calories: 410 | Fat: 28g | Saturated Fat: 15g | Carbohydrates: 34g | Sugar: 24g | Protein: 6g | Sodium: 260mg
Disclaimer:Please note that nutrition information is calculated using online tools and should be considered an estimate rather than an exact figure. Actual values may vary depending on specific brands and product substitutions used.
Why This One Actually Works
The reason this Biscoff cheesecake holds together so well, both structurally and flavor-wise, comes down to using the cookie spread inside the batter, not just as a topping. It distributes that molasses-y, spiced flavor all the way through instead of leaving it stuck on top where it disappears after the first bite. The water bath does the heavy lifting for texture, keeping things creamy instead of dense or dry.
The Small Change That Made the Biggest Difference
I used to skip scraping down the sides of the bowl between each mixing step, figuring it wasn’t a big deal. Turns out that was a mistake. Once I started scraping down thoroughly after adding the cream cheese and again after the eggs, the texture went from “pretty good” to genuinely silky, no lumps, no streaks. It takes maybe 30 extra seconds and it’s honestly the single biggest upgrade I made to this recipe.
What I’d Do Differently Making It Again Tomorrow
Honestly, I’d probably toast the Biscoff crumbs for the crust a touch longer, maybe an extra 2-3 minutes, just to deepen that caramel flavor even more. I made this for Karen’s birthday back in March and the crust came out slightly softer than I like, since I pulled it at exactly 10 minutes without checking the color. A little extra time in the oven for the crust alone would fix that.
What I Skip When I’m Short on Time
When I’m in a hurry, I skip the fancy swirl on top and just dollop the extra Biscoff spread on unevenly, since nobody at the table has ever cared about symmetry. I’ll also sometimes use a store-bought graham crust in a pinch, which isn’t quite as good but gets the job done on a busy weeknight when cheesecake cravings hit hard.
FAQ
Can I make this cheesecake ahead of time? Yes, and honestly, you should. It needs at least 6 hours to chill, but making it a full day or two ahead actually improves the flavor and texture.
Why did my cheesecake crack? Cracks usually happen from overbaking, overmixing (too much air in the batter), or skipping the water bath. A crack doesn’t mean it’s ruined, though — just cover it with whipped cream or a Biscoff drizzle and move on.
Can I use a different pan size? A 9-inch springform pan is standard for this recipe. If you use a smaller pan, expect a taller cheesecake and a longer bake time.
Do I have to use a water bath? No, but it helps prevent cracks and gives you a creamier texture. If you skip it, keep an eye on the bake time since it may need slightly less time in the oven.
Final Thoughts
This Lotus Biscoff cheesecake recipe has become one of those desserts I make on repeat, not because it’s trendy, but because it genuinely delivers every single time. It’s rich without being heavy, easy enough for a weeknight if you plan the timing right, and impressive enough for a holiday table. Give it a try, maybe let a slice for yourself before your Karens and Mikes get to it first, and don’t be surprised if this becomes your new go-to Biscoff cheesecake too.