What Does Root Beer Taste Like?

What does root beer taste like? If you are here because you want to know more about this popular drink, you should go nowhere else. For one thing, in this post, I have done some research to write this article on this subject. Read on if you are interested.
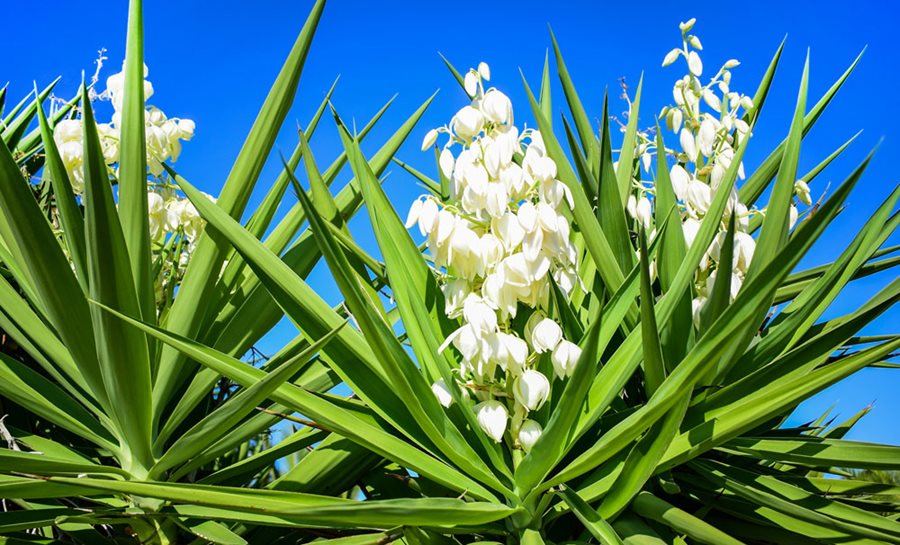
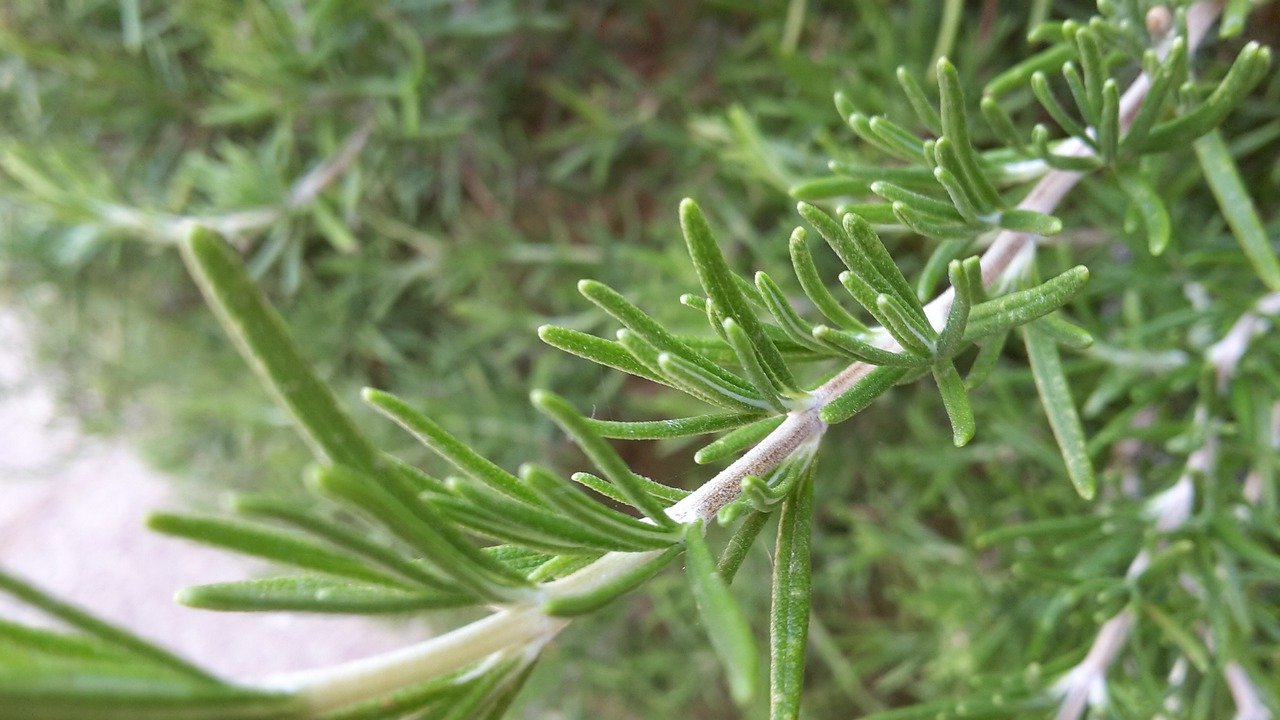
Traditionally, root beer is made by the fermentation of a herbal concoctions made from the sassafras root, sarsaparilla as well as ginger root, birch spring green leaf, wintergreen root and various other herbs for medicinal purposes. Yeast and sugar are added to create an energizing soft drink.
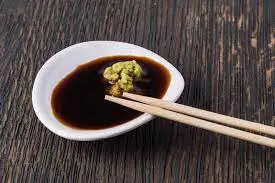
The root beer is a very popular drink consumed in North America. It is commonly called adulterated sarsaparilla as a result of the mix of ingredients that enhance taste such as cinnamon, licorice and honey. It is available in a nonalcoholic or alcoholic drink. It is a multi-faceted drink.
What does root beer taste like? The majority of the time, root beer offers a most delicious sweet flavor. The different ingredients in the drink improve its flavor. Sarsaparilla roots and the sassafras, which are the principal ingredients, give the drink a distinct minty and bitter taste. The bitter taste is eliminated by using sweeteners.
In contrast to other kinds of beers the traditional root beer is distinguished by an appearance of thick foam. Vanilla ice cream may be added to the beverage to enhance the flavor.
While the beer is popular to Americans but its popularity isn’t limited to the United States. It is an alcoholic refreshing drink that can be enjoyed by everyone and can be prepared at the convenience of home. If you spot a container of the root beer during your next trip to the grocery store, don’t be reluctant to give it a try.
Nutritional Benefit of Root Beer
Every ingredient used in the preparation of root beer has a variety of good for the health of people and their effectiveness. Sarsaparilla roots are a great source of protection for the liver. They have a significant amount of flavonoids which can be beneficial in reversing or preventing damage in the liver. They also aid in functioning optimally and serve as synergists to aid in taking in other beneficial herbal supplements in the body.
Root beer can be beneficial in helping to strengthen the body’s cells to fight off immune deficiency illnesses. Sarsaparilla is a component of root beer that acts as antifungal and antibacterial substances in the treatment of leprosy and syphilis.
Recent studies have also revealed that root beers have anti-cancer properties thanks to the sassafras sarsaparilla bark and in it. It was able to combat the tumors of breast cancer and liver cancer.
The inability to pump free of blood throughout the different organs of the body can be detrimental to health and may eventually cause death. The consumption of root beer in conjunction with the use of sassafras can help improve the efficiency in the circulation system. It helps ensure the steady flow of blood, and aids in eliminating particles of dirt from the veins and bloodstream. It also aids in promoting healthy skin and has diuretic properties.
It can also aid digestion issues such as stomach bloating, heartburn diarrhea, constipation, and heartburn. There is evidence from clinical studies that shows the licorice root in this beverage can help to treat ulcers. It helps in relieving back pain and nerve pain naturally.
Culinary Uses of Root Beer
In addition to the health-enhancing and aromatic qualities of root beer it can also be used to enhance the flavor of many recipes. It is great served chilled alongside pastries.
It is possible to slow cook baked beans using root beer. It’s a fantastic barbecue meal featuring meat and sauce, fried eggs, fried eggs and cornbread. Mix cooked beans, chili beans, diced and cooked bacon syrup, vinegar dijon mustard, and the container of root beers. Put the mix in the pot and allow it to simmer for 12 hours.
The flavor of your typical barbeque rub may be enhanced by the flavorful infusion of barbecue sauce made from root beer. To make the barbecue sauce, you need to sweat onions, garlic and ginger. Put the sauce in the bowl and mix it with ketchup or root beer prior to adding the sauce to carefully cooked BBQ ribs. You can also use it to give a sweetness to chicken and hamburgers.
The sweet and salty beer sauce could be used in vegan stir-fry. Cook a small pan that is filled with the mixture of sweetened root beers, syrup garlic and soy sauce on medium-high until it thickens. Then, add your cooked vegetables that you’ve prepared and let it simmer for around 10 minutes. Serve it with an ice cube of white wine.
Where Did Root Beer Originate From? How Do You Procure It?
The root beer recipe has been integrated into American culture for quite a long period of. The beginning of the documentation of the recipe dates back to the 1850s. The popularity of the beer grew in America during the 19th century, though it was sold in stores since the 1840s.
A folklore legend explains the origin of root beer occurred as a result of a medical incident when a pharmacist from the area tried using a variety of berries, herbs and roots to create an all-healing medicine in 1870. The root beer can be bought preserved in bottles or containers in the supermarkets.
It can also be made at home, provided that the ingredients are in stock. To make this drink, heat the sassafras, sarsaparilla, along with other herb in a stockpot that contains approximately 10 cups water. let it boil. Let it cool for around 15 minutes prior to taking the decoction through a strainer and discarding the leaves.
Can You Get Drunk From Drinking Root Beer?
Traditionally prepared root beers won’t make you drink. They are made using herbs and other ingredients with a very low levels of alcohol. However, more alcohol could be added to create an alcohol-based drink that is stronger.
Facts You Didn’t Know About Root Beer
Production of root beers accounts for 3 percent part of American soft drinks market.
The 6th of August is recognized on the 6th of August as National International root beer float day.
First person ever to create and sell root beer within America was Charles E. Hires. United States of America Is Charles E. Hires
In 1960, sassafras that is one of the main ingredients in the preparation of root beer was outlawed by the U.S Food and Drug Administration.
The nutritional value of root beer when compared with other drinks
The root beer is in essence an alcohol drink. Soft drinks aren’t well-known for their nutritional value in comparison to other beverages.
However, its nutritional content of root beers per 100 grams, as per the USDA according to the USDA, is as follows:
- Sodium – 13 gm
- Carbohydrates – 11 gm
- Sugar – 11 gm
- Potassium – 1 gm
The total calories per 100 grams of regular root beer is 41 calories.
Be aware that the nutritional value of root beer can vary from one type to another. It could also differ between the root beers of one brand to another.
What can you cook using Root Beer?
Many professional and amateur chefs alike make use of carbonated and soft drinks in their cooking recipes. Making meals with root beer isn’t commonplace.
But, it is a fantastic method to spice up your recipes and show off your knowledge of a hidden ingredient.
It is a flavorful and complex one that is able to transform an ordinary dish into a delicacy of restaurant quality.
The best ways to include root beer in your dishes are:
- Baking cakes
- Caramel
- Barbecue
- Fried chicken
- Stir-fried veggies
- Baked beans
- Ice-creams
The preparation of root beer dishes does not require any serious safety precautions. However, some tricks and tricks will help you to make the most delicious culinary choice. Some of the notable things are as follows:
Take the root beer out of the refrigerator and let it come to temperatures at room temperature. When the beverage is cold, it may affect the flavor of the other ingredients. This is also true when it is hot. Therefore, unless the recipe calls for hot or cold root beer, you should bring it up to room temperature prior to serving.
Make use of a measuring cup for liquids to measure the beer. Root beer isn’t one of the ingredients you can count.
Refrain from using diet root beer. The diet version is often bland when being used for cooking.
While boiling root beer ensure that the vessel is not covered.
Make sure to use a vessel that has the bottom that is heavy for boiling root beer.
Make sure to let the beer cool before adding other ingredients.
FAQs
Can kids drink root beers?
They’re soft drinks and not a hard cider or liquor. Your child won’t be disappointed by other than root beer an infant. Also, he won’t be a risk for drinking anything that has root beer. Root beer is a good thing. However, just the word “beer” isn’t going to transform your child into the third-grade alcoholic, who is always stumbling.
What is the most delicious root beer?
Are you searching for the most popular root beer to drink with your floating drink? It’s the Taste of Home staffers tried nine brands of root beer and picked their favorite .They include: Barq’s. Dad’s. Goose Island, IBC, Mug, Sioux City, Sprecher, and Stewart’s.
Is Root Beer healthy?
Root beer may be the “safest” soft drink for teeth. The root beer drinks are not carbonated and do not contain acid that could harm teeth according to a recent study. The exposure of teeth to soft drinks even for a brief period of time can cause tooth erosion, and prolonged exposure could cause significant loss of enamel.
Are root beers an American thing?
Root beer is a sugary North American beverage traditionally made by using the tree of the Sassafras plant, known as Sassafras albidum, or that of Smilax ornata (sarsaparilla) as the main flavor. It is usually, but not always, non-alcoholic, caffeine-free and carbonated.
Are Root Beer made from black Licorice?
It is a sweet beverage like birch beer, but is more well-known throughout North America. It is made up of vanilla, sassafras and wintergreen, as well as the bark of the cherry tree, as well as licorice black cherry, and sugar cane. Brewers who make root beers can also make use of flavorings such as cinnamon, molasses, nutmeg clove and honey.
Are sarsaparilla and the root beer identical?
The color of root beer can be dark, and developed from a mix of birch oil as well as the dried bark or roots of the sassafras plant. Sarsaparilla is a soft drink, primarily made of the roots from “Smilax ornata” (sarsaparilla) root.
Is Root Beer healthier than Coke?
All sodas aren’t classified as health-conscious food. However, root beer is thought to be a healthier choice as compared to Coca Cola which has corrosive ingredient that could eat away the tooth enamel or varnish if it is splashed on the wood floor! Caffeine is a must to be added to root beers, while cola is derived from the base components.
Is Root Beer halal?
A&W, Barq’s, and IBC are well-known names of the drink dubbed “root beer.” Root beer was once an alcohol-based beverage manufactured by fermentation that was alcoholic. The current root beer isn’t an alcohol-based drink, and is not to be regarded as haram.
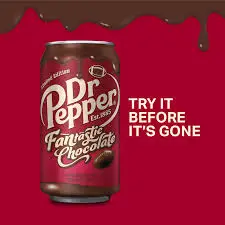
Does root beer taste like Dr Pepper?
Dr. Pepper has a distinct taste. It is likely to contain many of the same ingredients and spices as traditional root beer; however, there are some fruity flavors too. Therefore, it is outside the category of root beer and vice versa.
Wrapping up
What Does Root Beer Taste Like?
So, what does root beer taste like? Well, I’ve already addressed that question above. However, to make root beer, the extract that is used tastes somewhat bitter. This is why ingredients such as wintergreen and licorice as well as sweeteners are commonly used to lessen the taste.
At any rate, there are few things on earth that are better than a glass of root beer chilled during a scorching summer day. There’s something very refreshing about this normally non-alcoholic beverage and everyone can enjoy it to his heart’s content!