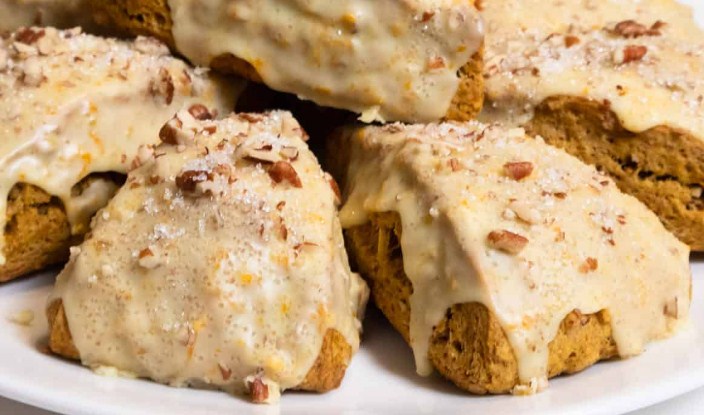
Easy Maple Pecan Scones Recipe
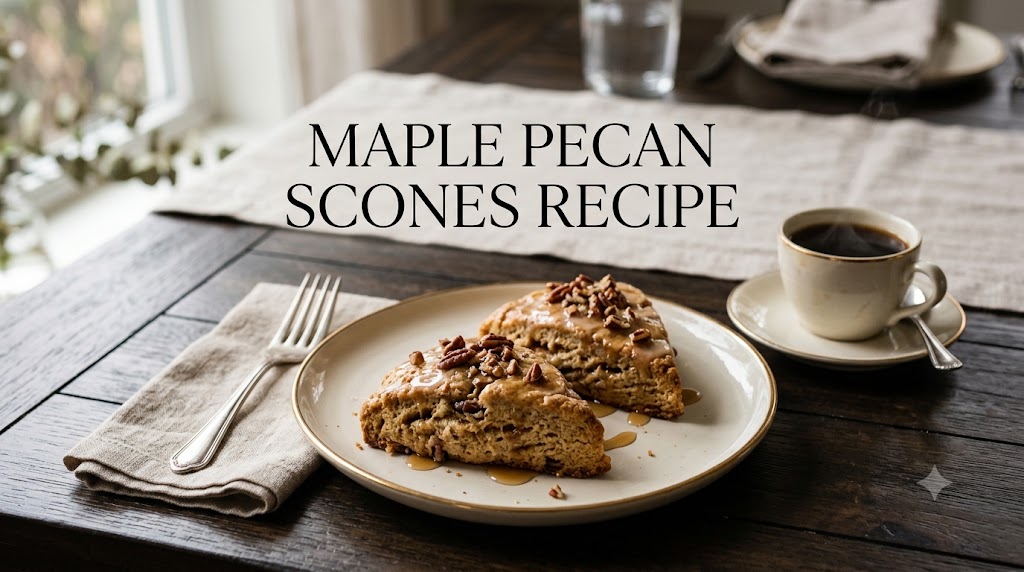
I made use of the following maple pecan scones recipe for the first time on a Tuesday, which feels like an important detail even though nobody asked. My neighbor Debbie had just dropped off a jar of real maple syrup her cousin tapped in Vermont, and I felt weirdly obligated to use it for something better than just drowning pancakes. So I dug out my grandmother’s old scone recipe, swapped in the maple syrup, threw in a heap of toasted pecans, and that was that. Now it’s the thing I bake when I want my house to smell like a bakery threw a party with a candle store.
This maple pecan scones recipe isn’t fussy. You don’t need a stand mixer, you don’t need to whisper sweet nothings to the dough, and you definitely don’t need a culinary degree. What you need is cold butter, a little patience, and maybe 35 minutes of your Saturday morning.
Why You’ll Love This Recipe
Honestly? The smell alone sells it. But beyond that, these scones hit that sweet spot between “coffee shop treat” and “thing I can actually make in my pajamas.” They’re crumbly on the outside, soft in the middle, and the maple glaze on top does most of the heavy lifting flavor-wise.
They’re also forgiving. I’ve messed up the butter temperature more times than I’d like to admit, and the scones still came out fine — just a touch denser. Nobody complained. My husband Marcus ate four in one sitting and then asked why I don’t make them every week, which, fair question, I don’t have a good answer for that.
Ingredients
- 2 cups all-purpose flour
- 1/3 cup granulated sugar
- 1 tablespoon baking powder
- 1/2 teaspoon salt
- 1/2 cup unsalted butter, cold and cubed
- 3/4 cup chopped pecans, toasted
- 1/2 cup heavy cream
- 1/4 cup pure maple syrup
- 1 large egg
- 1 teaspoon vanilla extract
- For the glaze: 1 cup powdered sugar, 2 tablespoons maple syrup, 1–2 tablespoons milk
Equipment Needed
A large mixing bowl, a pastry cutter or two forks, a baking sheet, parchment paper, and a bench scraper if you have one (a butter knife works too, don’t stress about it).
Step-by-Step Cooking Instructions
- Preheat your oven to 400°F and line a baking sheet with parchment paper.
- In a large bowl, whisk together the flour, sugar, baking powder, and salt.
- Cut the cold butter into the flour mixture using a pastry cutter or two forks until it looks like coarse crumbs, with some pea-sized bits of butter still visible.
- Stir in the toasted pecans.
- In a separate small bowl, whisk together the heavy cream, maple syrup, egg, and vanilla extract.
- Pour the wet ingredients into the dry ingredients and stir gently just until a shaggy dough forms. Do not overmix — I learned this one the hard way, more on that below.
- Turn the dough out onto a floured surface and pat it into a circle about 3/4 inch thick.
- Cut the circle into 8 wedges, like a pizza, and place them on the prepared baking sheet with a little space between each one.
- Bake for 16 to 18 minutes, until the tops are golden and a toothpick comes out clean.
- Let the scones cool for about 10 minutes before glazing.
- Whisk together the powdered sugar, maple syrup, and milk until smooth, then drizzle generously over the cooled scones.
Cooking Tips
Keep your butter cold. I know every baking blog says this, but it matters more here than usual since these are meant to be flaky, not cakey. If your kitchen runs warm, stick the cubed butter in the freezer for 10 minutes before you start.
Don’t overwork the dough. I used to knead it like I was making bread, kneading and kneading until it looked “smooth,” and turns out that was exactly the wrong move — it made the scones tough instead of tender. Now I mix it just until it barely holds together, and honestly the messier the dough looks at that stage, the better the scones turn out.
Toast your pecans first. It only takes about 5 minutes in a dry skillet, and it makes a bigger difference than you’d expect, bringing out this deep, almost caramel-like flavor that raw pecans just don’t have.
Substitutions & Variations
You can swap the pecans for walnuts if that’s what’s in your pantry, though I’ll admit pecans feel more “fall” to me for whatever reason. If you want a dairy-free version, coconut cream works okay in place of the heavy cream, though the texture gets a little denser. Maple extract can stand in for part of the syrup if you want a stronger maple punch without adding extra liquid. Some people add a pinch of cinnamon or nutmeg to the dry mix, and my sister-in-law Karen swears by adding a tablespoon of brown sugar on top before baking for a little extra crunch.
What to Serve With It
These scones are pretty perfect on their own with coffee, but if you want to make it a whole spread, pair them with scrambled eggs and crispy bacon for brunch. A pot of hot tea works nicely too, especially something like Earl Grey, which cuts through the sweetness of the glaze. My friend Rachel likes hers with a little extra pat of salted butter on the side, which honestly might be the move.
Storage & Reheating
Store leftover scones in an airtight container at room temperature for up to 2 days, or in the fridge for about 5 days. They also freeze well — just wrap them individually before the glaze goes on, and freeze for up to 3 months. To reheat, pop them in a 300°F oven for about 8 minutes, or microwave for 15 to 20 seconds if you’re in a hurry and don’t care about the texture being perfect.
Cook and Prep Time
Prep time: 15 minutes Cook time: 18 minutes Total time: about 35 minutes, plus a few minutes for glazing and cooling
Nutrition Facts
Per scone (makes 8 scones): Calories: 310, Fat: 15g, Carbohydrates: 40g, Sugar: 18g, Protein: 5g, Fiber: 1g
Please note that nutritional values are estimates only, calculated using standard ingredient data. Actual values will vary depending on the specific brands and quantities you use. For precise dietary needs, we recommend consulting a registered dietitian or nutritionist.
There’s something about the way these scones bake that just works, and I think it comes down to the ratio of butter to cream. Too much cream and you lose that flaky texture; too little and the dough won’t come together at all. This recipe sits right in the middle, and that balance is really what makes the whole thing click.
The small change that actually made a difference for me was toasting the pecans before folding them in. I skipped that step for probably the first ten times I made these, just tossing the nuts in raw because who has time for an extra pan. Then one weekend I finally toasted them out of pure laziness — I’d already had the skillet out for something else — and the flavor jump was noticeable enough that I’ve never skipped it since.
If I were making these again tomorrow, I’d probably double the glaze. I always end up wishing I had more of it pooling at the bottom of the plate, honestly, because that’s the best part, and I usually run out halfway through drizzling the last scone.
When I’m short on time, I skip toasting the pecans and just use them raw, and I also skip cutting the dough into a perfect circle — I just pat it into a rough rectangle and cut it into squares instead. Nobody at my breakfast table has ever noticed or cared.
FAQ
Can I make the dough ahead of time? Yes. You can shape the scones and refrigerate them, unbaked, for up to 24 hours before popping them in the oven. Just add a minute or two to the bake time since they’ll be starting cold.
Why are my scones dense instead of flaky? This usually comes down to overmixing the dough or letting the butter get too warm before baking. Cold butter and a light hand are the two things that matter most here.
Can I freeze the dough instead of the baked scones? Definitely. Freeze the cut, unbaked wedges on a tray until solid, then transfer to a freezer bag. Bake straight from frozen, adding about 3 to 4 extra minutes.
Do I have to use pecans? Nope, walnuts or even pumpkin seeds work if you’re avoiding tree nuts for someone at the table. The maple flavor still carries the whole thing.
Final Thoughts
At the end of the day, this maple pecan scones recipe is one of those rare things that’s genuinely easy but still feels a little special, like you put in more effort than you actually did. I’ve made batches for Sunday brunches, for Marcus’s coworkers, and once for a bake sale that raised money for my kid’s soccer team, and every single time, people ask for the recipe before they’ve even finished their first bite. Give it a try this weekend — worst case, you end up with a kitchen that smells incredible and a plate of scones nobody’s going to complain about.