Peanut Butter Cup Brownies Recipe
Whenever I have some leisure time, I feel an itching desire to fiddle with some new recipes that I can try at home. One of my homies told me about the peanut butter cup brownies recipe, and I was hooked. However, I burned my first batch of peanut butter cup brownies so badly that my smoke detector introduced itself to my neighbors. That was three years ago, and I still think about it every single time I open my oven. But here’s the thing about peanut butter cup brownies — once you get them right, you’ll never look at a boxed brownie mix the same way again. This recipe is the one I make when my sister-in-law visits, because she once told me store-bought brownies “taste like sadness,” and honestly, she’s not wrong.
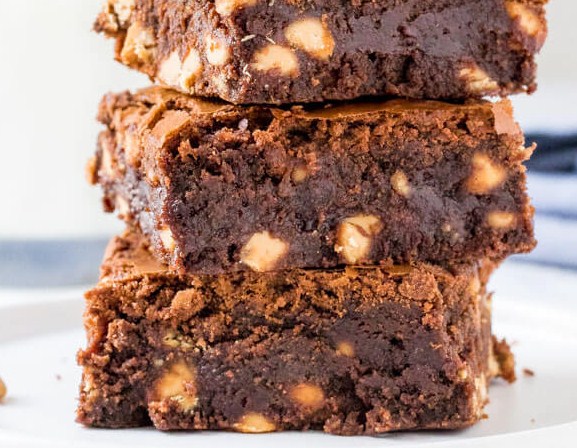
These peanut butter cup brownies are fudgy, gooey, and stuffed with actual chunks of peanut butter cups melting into the batter. Not drizzled on top. Not sprinkled as an afterthought. Baked right in, so every bite has that salty-sweet peanut butter pocket hiding inside rich chocolate. If you’re a fan of chocolate and peanut butter desserts, this one’s going straight into your regular rotation.
Why You’ll Love This Recipe
Let me be blunt. I’ve tried at least a dozen brownie recipes over the years, and most of them are either too cakey or too dry, which defeats the entire purpose of a brownie. This recipe fixes that.
- It’s genuinely fudgy in the middle, with a crackly top that makes a satisfying crunch when you break into it.
- You get real peanut butter cups in every square, not just a faint peanut butter aftertaste.
- It uses basic pantry ingredients. No fancy flours, no weird techniques.
- It’s forgiving. I’ve under-baked it, over-mixed it, and forgotten to grease the pan once (rookie mistake), and it still turned out edible every time.
- It works for potlucks, birthdays, or a random Tuesday when you just need chocolate in your life.
If you love easy chocolate peanut butter desserts, this brownie recipe checks every box. And honestly, the smell alone while it’s baking will pull people into your kitchen like a cartoon whiff-trail.
Ingredients
Here’s what you’ll need. I’m listing exact measurements, but don’t panic if you’re a spoonful off here or there. Baking is science, sure, but brownies are the forgiving cousin of the baking world.
For the brownie batter:
- 1 cup unsalted butter, melted
- 2 cups granulated sugar
- 4 large eggs
- 1 tablespoon vanilla extract
- 1 cup unsweetened cocoa powder
- 1 ½ cups all-purpose flour
- ½ teaspoon salt
- ½ teaspoon baking powder
- 10-12 mini peanut butter cups, chopped roughly (I use the mini Reese’s, but any brand works)
For the topping (optional but strongly recommended):
- 6-8 mini peanut butter cups, halved
- 2 tablespoons creamy peanut butter, slightly warmed
- A pinch of flaky sea salt
I once tried swapping in Dutch-process cocoa powder because that’s all I had in the pantry, and the color came out darker and richer looking, almost bakery-style. Worth mentioning if you want that deep chocolate look for photos.
Step-by-Step Instructions
Step 1: Preheat and prep. Preheat your oven to 350°F (175°C). Line a 9×9 inch baking pan with parchment paper, leaving some overhang on the sides. This overhang trick saves you from wrestling brownies out of the pan later. Trust me, I learned this the hard way after basically performing surgery on a stuck pan with a butter knife.
Step 2: Mix the wet ingredients. In a large bowl, whisk together the melted butter and sugar until combined. Add the eggs one at a time, whisking well after each addition. Stir in the vanilla extract. The mixture should look glossy at this point, kind of like caramel sauce.
Step 3: Add the dry ingredients. Sift in the cocoa powder, flour, salt, and baking powder. Fold gently with a spatula. Do not overmix here. Overmixing develops the gluten in the flour, and that’s how you end up with cakey brownies instead of that dense, fudgy texture we’re chasing.
Step 4: Fold in the peanut butter cups. Toss in your chopped peanut butter cups and fold them through the batter. Some will melt a little during mixing, and that’s fine — actually, that’s good. It creates little ribbons of peanut butter running through the chocolate.
Step 5: Bake. Pour the batter into your prepared pan and smooth the top with a spatula. Bake for 28-32 minutes. I usually pull mine at the 30-minute mark because I like the center slightly underdone — it firms up as it cools and stays extra fudgy. A toothpick inserted should come out with a few moist crumbs, not wet batter, but also not completely clean.
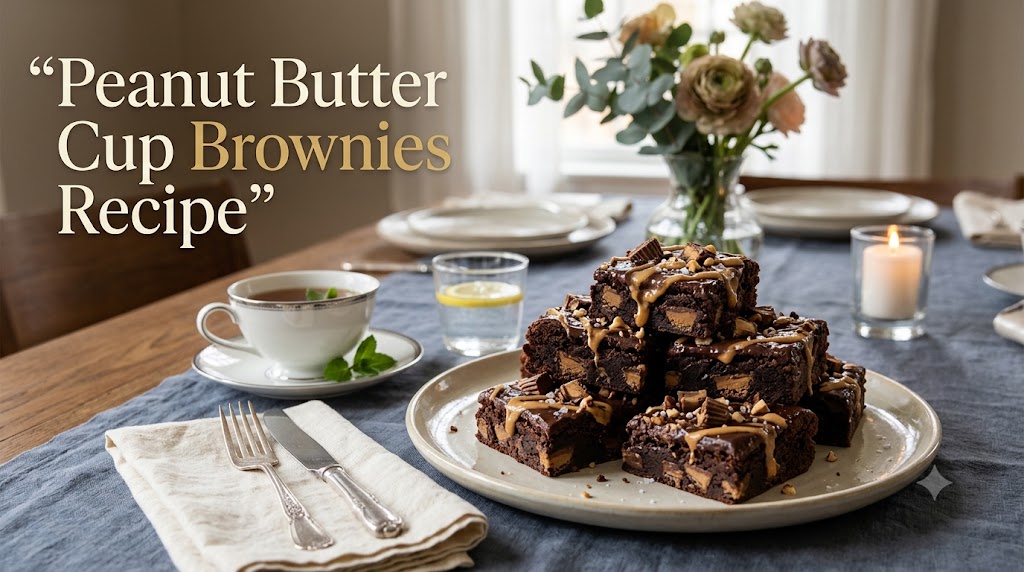
Step 6: Add the topping. While the brownies are still warm, press the halved peanut butter cups on top, cut side up. Drizzle the warmed peanut butter over everything and finish with a pinch of flaky sea salt. Let the brownies cool in the pan for at least 20 minutes before slicing, though I’ll admit I never wait that long.
Cooking Tips
A few things I’ve picked up after making these peanut butter cup brownies more times than I can count:
Don’t use a metal spoon straight after baking to test doneness — I’ve scratched my nonstick pan more than once doing this. Use a wooden pick or a thin skewer instead.
Room temperature eggs blend into the batter more smoothly. If you forget to take them out early (which I do, constantly), just sit them in a bowl of warm water for five minutes.
Cutting brownies with a plastic knife sounds ridiculous, but it genuinely works better than metal for clean edges, especially when the chocolate is still a bit soft.
Also, freeze your peanut butter cups for ten minutes before chopping. Frozen ones hold their shape and don’t turn into peanut butter mush all over your cutting board.
Why This Actually Works
The magic here isn’t complicated. Peanut butter and chocolate share a certain fat content and sweetness balance that just clicks — that’s basic flavor science, and it’s why this combo has survived decades of candy aisles. But the real trick with this recipe is temperature control. Baking the brownies slightly underdone and letting them set as they cool locks in that fudge-like texture instead of drying it out in the oven. It’s a small thing. It makes a massive difference.
Small Changes That Made a Big Difference
I used to add all the peanut butter cups on top only, no mix-ins. Big mistake. The chocolate on the outside of the cup would harden into a shell and separate from the brownie layer, creating this weird air pocket underneath. Chopping half the cups into the batter itself fixed that completely. Also, switching from regular table salt to flaky sea salt on top changed the entire flavor profile. It sounds fussy, I know, but that tiny crunch of salt against the sweet chocolate is not something I’ll go back on.
Substitutions & Variations
- Gluten-free option: Swap the all-purpose flour for a 1:1 gluten-free baking blend. I’ve tested this with Bob’s Red Mill and it held up fine, texture-wise.
- Dark chocolate version: Use dark chocolate peanut butter cups instead of milk chocolate if you want a more bittersweet, grown-up flavor.
- Nut-free swap: Sunbutter cups work as a substitute if you’re avoiding peanuts, though the flavor is milder.
- Extra fudgy: Add ¼ cup of melted chocolate chips into the batter along with the peanut butter cups.
- Boxed mix shortcut: If you’re short on time, a boxed brownie mix with the peanut butter cups folded in works in a pinch. It’s not quite the same, but nobody at a potluck is going to complain.
If I Were Making This Again Tomorrow
Honestly? I’d double the batch. These disappear fast, and I always end up wishing I’d made more. I’d also probably add a touch of espresso powder to the batter next time — just half a teaspoon — because it deepens the chocolate flavor without making it taste like coffee. I haven’t tried it yet in this exact recipe, but it’s on my list for next weekend.
What I Skip When I’m Short on Time
When I’m in a rush, I skip the topping step entirely and just mix all the peanut butter cups into the batter instead of holding some back. It’s less pretty for photos, sure, but it tastes just as good, and honestly saves about ten minutes of fiddly work.
What to Serve With It
These brownies are rich, so I like pairing them with something that cuts through the sweetness a little.
- A scoop of vanilla bean ice cream, obviously.
- Fresh strawberries or raspberries on the side for a tart contrast.
- A tall glass of cold milk — my dad’s go-to, and honestly, he’s right about this one.
- For grown-up gatherings, a small pour of espresso works surprisingly well next to a warm brownie square.
Storage & Reheating
Store leftover brownies in an airtight container at room temperature for up to 4 days. If your kitchen runs warm, pop them in the fridge instead, where they’ll keep for about a week.
To reheat, microwave a single brownie for about 10-15 seconds. This brings back that gooey, just-baked texture. You can also freeze these brownies for up to 3 months — wrap them individually in plastic wrap, then place them in a freezer bag. Thaw at room temperature or give them 20 seconds in the microwave straight from frozen.
Cook and Prep Time
- Prep time: 15 minutes
- Cook time: 30 minutes
- Total time: 45 minutes
- Yield: 16 brownies
Nutrition Facts (per brownie, approximate)
- Calories: 310
- Total Fat: 16g
- Saturated Fat: 8g
- Carbohydrates: 38g
- Sugar: 27g
- Protein: 5g
- Sodium: 180mg
These numbers are estimates and will vary depending on the exact brand of peanut butter cups and chocolate you use.
FAQ
Can I use full-size peanut butter cups instead of minis? Yes, just chop them into smaller chunks so they distribute evenly through the batter.
Why are my brownies too cakey? This usually happens from overmixing the batter or overbaking. Pull them out a couple minutes earlier than you think you should.
Can I make these ahead of time? Absolutely. They actually taste better the next day once the flavors settle, in my experience.
Do I need to chill the batter before baking? No, this recipe doesn’t require chilling. Just bake it right after mixing.
Can I double the recipe? Yes, use a 9×13 inch pan and add about 5-8 extra minutes to the bake time.
Final Thoughts
I’ve made a lot of brownies in my life, some good, some genuinely embarrassing (RIP to that one batch that came out looking like a hockey puck). But these peanut butter cup brownies are the ones I keep coming back to, the ones that get requested by name at family gatherings now. They’re rich without being overwhelming, packed with real peanut butter cup flavor in every bite, and honestly pretty hard to mess up once you get the hang of it. If you try this recipe, I’d genuinely love to know how it turns out for you — and if you tweak anything, tell me, because I’m always tinkering with mine too.