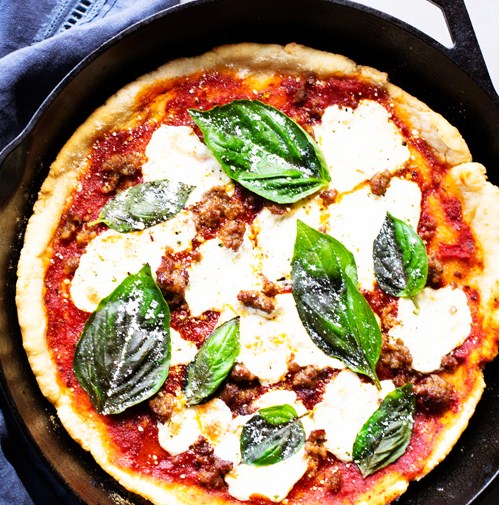
Margherita Skillet Pizza
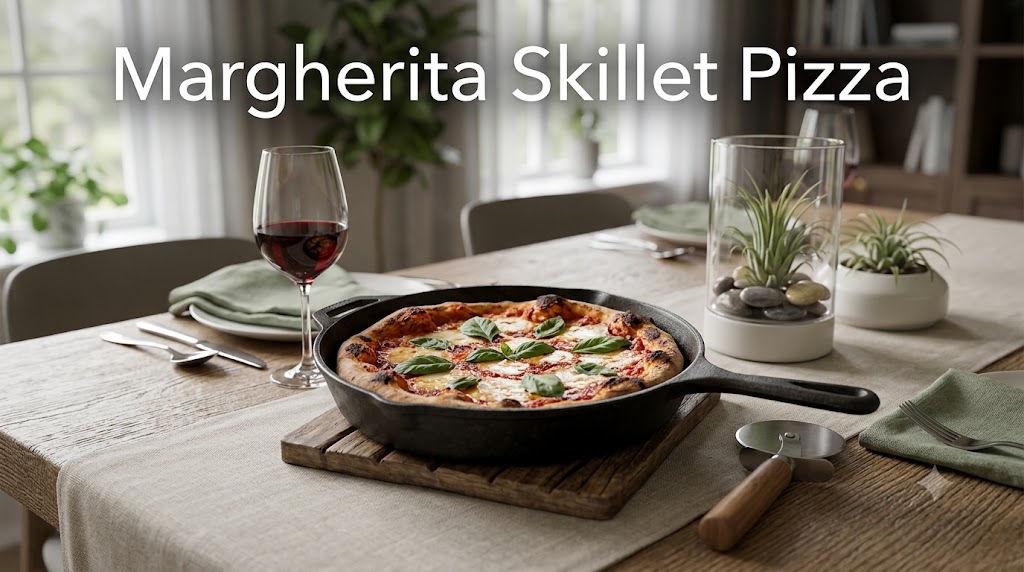
Margherita skillet pizza is what happens when you’re craving a wood-fired pizzeria pie but you’re stuck in a kitchen with zero patience and one cast-iron pan. I stumbled onto this method almost by accident, on a Thursday when my oven decided to act up mid-preheat and I had dough already rising on the counter. No backup plan, just a skillet and some stubbornness. Turns out that “emergency fix” makes a crust with a crispier bottom and a chewier middle than most of my oven-baked attempts ever did.
If you’ve never made pizza in a skillet, it sounds a little wrong at first. Pizza belongs in an oven, right? Except a cast-iron skillet gets screaming hot and holds that heat, so the crust practically fries on the bottom while the cheese melts up top under the broiler. It’s the closest thing to pizzeria-style crust I’ve managed at home, and I say that as someone who owns a pizza stone that mostly collects dust now.
This isn’t a fussy recipe. It’s tomatoes, mozzarella, basil, good olive oil, and a hot pan. Margherita pizza has always been about restraint — three or four ingredients doing all the work — and the skillet method respects that simplicity instead of fighting it.
Why You’ll Love This Recipe
You don’t need a pizza oven, a baking steel, or any of that specialty gear people swear you need. Just a heavy skillet you probably already own.
The crust gets genuinely crispy on the bottom, almost like a fried focaccia, while staying soft inside. That contrast is honestly the whole appeal.
It comes together faster than delivery most nights, especially if you keep dough in the freezer like I do (guilty admission: sometimes it’s store-bought dough, and nobody has ever complained).
And it’s forgiving. Lopsided edges, a slightly off-center layout, cheese that slid to one side — none of it matters once it’s out of the pan and everyone’s eating.
Ingredients
- 1 pound pizza dough, room temperature (homemade or store-bought)
- 2 tablespoons olive oil, plus extra for drizzling
- 1/2 cup crushed San Marzano tomatoes (or good canned whole tomatoes, crushed by hand)
- 8 ounces fresh mozzarella, torn into small pieces
- 1/4 cup fresh basil leaves, torn
- 1 clove garlic, minced (optional, but I always use it)
- 1/2 teaspoon kosher salt
- Pinch of red pepper flakes (optional)
- Flaky salt for finishing
Equipment Needed
You’ll want a 10 or 12-inch cast-iron skillet — this is genuinely the star of the whole operation. Beyond that, keep it simple: a rubber spatula or wooden spoon for spreading sauce, a pastry brush or just your fingers for the olive oil, an oven mitt (a thick one, trust me), and a cutting board for slicing once it’s done. That’s it. No rolling pin required if you stretch the dough by hand, which I actually prefer.
Step-by-Step Cooking Instructions
- Take your dough out of the fridge at least 30 minutes before cooking so it’s easier to stretch. Cold dough fights back, and nobody needs that fight before dinner.
- Preheat your oven’s broiler on high, with a rack positioned about 6 inches from the heat source.
- Heat the cast-iron skillet over medium-high heat on the stovetop for about 2 minutes, then add the 2 tablespoons of olive oil, swirling to coat the bottom and sides.
- Stretch or press the dough into a rough circle slightly smaller than your skillet — it’ll expand as it cooks, so don’t stress about perfection here.
- Carefully lay the dough into the hot, oiled skillet. It should sizzle a little when it hits the pan. If it doesn’t sizzle, your pan wasn’t hot enough — give it another minute next time.
- Cook the plain dough on the stovetop for 2 to 3 minutes, until the bottom turns golden and slightly blistered. You can lift an edge with tongs to check.
- Remove the skillet from heat and flip the dough over using a spatula (the cooked side should now face up).
- Spread the crushed tomatoes evenly over the crust, leaving about a half-inch border for the edges to puff up.
- Sprinkle the minced garlic and salt over the sauce, then scatter the torn mozzarella pieces across the top.
- Transfer the skillet to the oven, under the broiler, and cook for 3 to 5 minutes, watching closely — broilers vary wildly, and this is where pizzas go from perfect to sad in under a minute.
- Pull the skillet out once the cheese is bubbling and blistered in spots, with the crust edges deeply golden.
- Top with fresh basil, a drizzle of good olive oil, and a pinch of flaky salt right before slicing.
- Let it rest for 2 full minutes before cutting — I know that’s hard, but it keeps the cheese from sliding right off each slice.
Cooking Tips
Don’t skip preheating the skillet properly. This is the one step I used to rush, and it always cost me a soggy bottom crust. A truly hot pan is what gives you that shatter-crisp edge instead of something closer to sad flatbread.
Keep your broiler door cracked slightly if your oven runs hot — I learned this after setting off my smoke detector at 7:40 on a Tuesday evening, which is a very specific and slightly embarrassing memory I still think about.
Use fresh mozzarella, not the shredded low-moisture kind, if you can. It melts differently, in these soft little pools instead of a uniform blanket, and honestly that’s part of what makes Margherita pizza taste like Margherita pizza instead of “cheese bread with tomato.”
Substitutions & Variations
You’ve got room to play here, and honestly the recipe barely notices. Swap the mozzarella for burrata torn on right after baking for something creamier, use canned diced tomatoes drained and blitzed if San Marzanos aren’t in your pantry, throw in a handful of arugula after baking for a peppery contrast, add prosciutto for a salty non-vegetarian twist, or go dairy-free with a good plant-based mozzarella (I’ve tried this twice, results were fine, not magic, but fine). Gluten-free dough works too, though it behaves a bit differently in the skillet, so keep a closer eye during that first stovetop stage.
What to Serve With It
A simple arugula salad with lemon and olive oil balances the richness nicely. I also like roasted vegetables on the side, or just good crusty bread if I’m feeling extra about carbs that day (no judgment, we’ve all been there). A glass of Chianti doesn’t hurt either, though I usually just drink whatever’s open.
Storage & Reheating
Leftover slices keep in the fridge for up to 3 days in an airtight container. For reheating, skip the microwave — it turns the crust rubbery and honestly a little sad. Instead, reheat slices in a dry skillet over medium heat for 3-4 minutes, which brings back some of that crisp bottom. A toaster oven works well too, about 5 minutes at 375°F.
Cook and Prep Time
Prep time: 15 minutes (plus 30 minutes dough resting)
Cook time: 10 minutes
Total time: about 55 minutes
Nutrition Facts
Calories: 310 per slice | Protein: 14g | Carbs: 34g | Fat: 13g | Fiber: 2g | Sodium: 480mg
Nutritional information is an estimate calculated using standard ingredient data and is provided for general guidance only. Actual values may vary based on specific brands, portion sizes, and preparation methods used. For precise dietary needs, please consult a registered nutritionist or use a dedicated nutrition calculator.
Why This Actually Works
The magic here is really just physics. Cast iron holds heat incredibly well, and starting the crust on the stovetop before finishing under the broiler means you get direct, intense heat on the bottom the whole time — something a home oven alone struggles to replicate on a flat baking sheet. It’s basically tricking your kitchen into acting like a mini pizza oven, minus the 900-degree flames.
The Small Change That Made a Big Difference
I used to add the cheese before putting the dough in the skillet at all, cooking everything together from the start. Big mistake, in hindsight. The bottom would still be pale and underdone by the time the cheese finished melting. Flipping the crust partway through, cooking it plain first, then adding toppings before the broiler step — that single change fixed almost every complaint I’d had with this method for months.
What I’d Do Differently Tomorrow
Honestly? I’d measure my dough portions more carefully. Mine tends to come out slightly asymmetrical because I eyeball everything, and one time it ended up shaped vaguely like Ohio, which made for a fun family joke but an uneven cook. I’d also let the dough rest a touch longer next time — even 10 extra minutes seems to make it stretch more willingly instead of springing back like it’s annoyed with me.
What I Skip When I’m Short on Time
Sometimes I skip making sauce from scratch and just use a good jarred marinara, thinned slightly with olive oil. I also skip fresh basil in a pinch and use a tiny drizzle of basil oil instead — not quite the same, but close enough on a rushed weeknight when dinner needs to happen in twenty minutes flat.
FAQ
Can I use a regular non-stick skillet instead of cast iron?
You can, but you won’t get the same crisp bottom crust. Cast iron retains heat far better, which is really the whole trick behind this method.
Why is my crust soggy in the middle?
This usually means the skillet wasn’t hot enough at the start, or there was too much sauce. A thin, even layer of sauce goes a long way here.
Can I make this ahead of time?
The dough can be made a day ahead and refrigerated, but the actual cooking really should happen right before serving for the best texture.
Do I need to flip the dough every time?
Yes, this step is what gives you that golden, blistered bottom crust instead of a pale one. Don’t skip it, even though it feels like an extra hassle.
Final Thoughts
Margherita skillet pizza turned into one of those recipes I didn’t expect to love as much as I do, honestly. It started as a fix for a broken oven day and became the method I reach for on purpose now, even when everything’s working fine. There’s something satisfying about that crackly, blistered crust coming out of a pan you’ve probably had since your twenties. Give it a try this week — worst case, it’s still pizza, and pizza is rarely a bad idea.
You May Also Like: