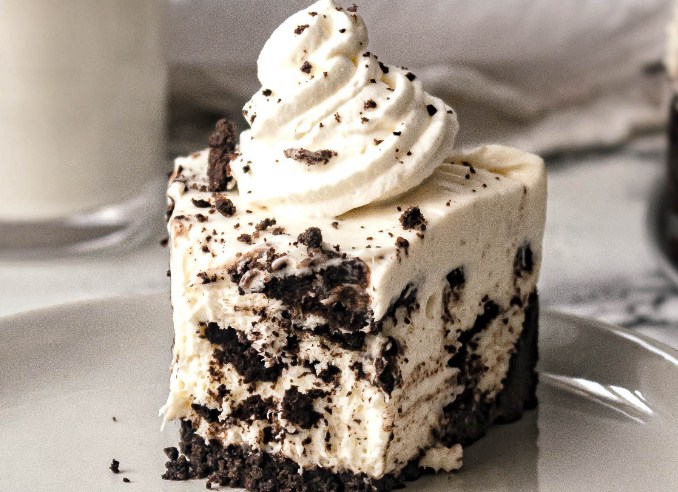
No-Bake Oreo Cheesecake Recipe
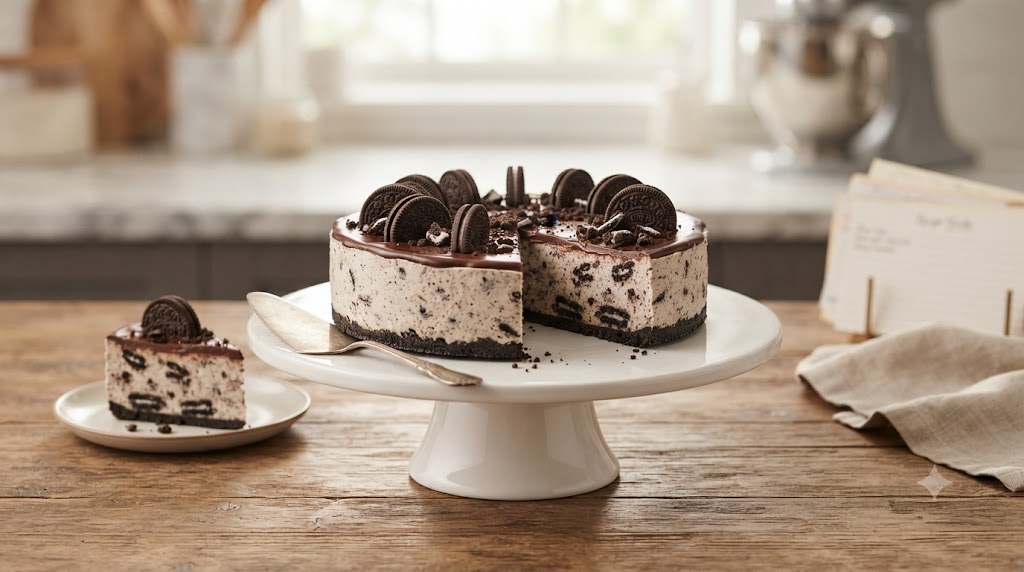
It is not that I often dabble with the no-bake cheese cake recipe quite often. In fact, I made my first no-bake Oreo cheesecake on a Tuesday afternoon last March, mostly because my oven had picked that exact week to die on me. My neighbor Mrs Dyson had asked me to bring dessert to her daughter’s engagement get-together that Saturday, and I panicked for about two days straight. Turns out, a no-bake Oreo cheesecake saved the whole thing, and now it’s the one dessert people specifically ask me to bring. It’s cool, it’s creamy, it comes together without touching your oven, and honestly, it tastes like something way fancier than the fifteen minutes of actual effort it takes.
This isn’t one of those fussy cheesecakes that crack down the middle or need a water bath and a prayer. You mix, you press, you chill, and you’re done. If you’ve got a crowd coming over and zero patience for baking drama, this recipe fits right in.
Why You’ll Love This Recipe
Here’s the thing about this cheesecake — it doesn’t ask much of you. No oven, no springform pan drama, no worrying about cracks or overbaking. You crush some cookies, whip some cream cheese, fold it all together, and let your fridge do the heavy lifting.
It’s also stupid easy to make ahead, which matters a lot when you’re hosting. I usually make mine the night before a party so I’m not stuck in the kitchen when guests show up. And the taste? Rich, tangy-sweet, with that unmistakable Oreo crunch running through every bite. My cousin Peter, who claims he “doesn’t really like cheesecake,” ate three slices at my sister’s baby shower and then asked for the recipe. So, take that for what it’s worth.
Kids love it, adults love it, and it holds up fine at room temperature for a couple hours if your party runs long — which, let’s be honest, they always do.
Ingredients
You’ll need two packs of Oreo cookies, about 30 total, split between the crust and the filling. Here’s exactly what goes into this no-bake Oreo cheesecake:
For the crust:
- 24 Oreo cookies, crushed into fine crumbs (I just toss them in a zip bag and go at it with a rolling pin — oddly satisfying, try it after a bad day)
- 6 tablespoons unsalted butter, melted
For the filling:
- 16 ounces full-fat cream cheese, softened properly
- 1 cup powdered sugar
- 2 teaspoons vanilla extract
- 1½ cups heavy whipping cream
- 10 Oreo cookies, roughly crushed (chunky, not fine — you want bite here)
- A pinch of salt (optional — I skipped it for years without noticing a huge difference, so don’t stress if you forget it)
Step-by-Step Cooking Instructions
- Make the crust. Mix your crushed Oreo crumbs with the melted butter until it looks like wet sand, then press it firmly into the bottom of a 9-inch springform pan. Use the bottom of a glass to really pack it down — this step matters more than people think, because a loose crust just crumbles apart when you slice into it later.
- Chill the crust. Pop the pan in the fridge while you make the filling, so it firms up a little.
- Beat the cream cheese. In a large bowl, beat the softened cream cheese until it’s completely smooth, no lumps hiding anywhere. Add the powdered sugar and vanilla, and beat again until it’s fluffy and pale.
- Whip the cream. In a separate bowl, whip the heavy cream until stiff peaks form; this usually takes me around 4 minutes with a hand mixer, though it depends on how cold your cream is.
- Fold it together. Gently fold the whipped cream into the cream cheese mixture in two batches — don’t dump it all in at once, or you’ll deflate all that air you just worked to build.
- Add the Oreo chunks. Fold in the crushed Oreo pieces last, saving a small handful for topping.
- Assemble. Pour the filling over the chilled crust, smooth the top with a spatula, and sprinkle the reserved Oreo crumbs on top.
- Chill and set. Cover it and refrigerate for at least 6 hours, though overnight really is better if you can manage it.
- Slice and serve. Use a warm, dry knife for the cleanest edges — run it under hot water and wipe it dry between cuts.
Cooking Tips and Substitutions & Variations
A few things I’ve learned the hard way. First, your cream cheese has to be actually soft, not just “sitting on the counter for ten minutes” soft. Cold cream cheese leaves lumps no amount of beating will fix, and trust me, biting into a lump mid-slice is not the texture anyone signed up for. Second, don’t rush the chilling time. I once tried serving this after only 3 hours because guests arrived early, and it was more of a thick pudding than a cheesecake — still tasted fine, looked like a mess.
If you want variety, swap regular Oreos for the mint or peanut butter kind and the whole flavor shifts completely. You can also use a store-bought graham cracker crust if you’re really pressed for time, though I’ll admit the Oreo crust brings something graham crackers just can’t match. For a lighter version, swap in reduced-fat cream cheese and light whipped topping, though the texture gets slightly less rich — worth it if you’re watching calories, not worth it if this is a special occasion. Gluten-free Oreo alternatives exist now too, and they work almost identically in the crust.
What to Serve With It
I usually serve this alongside fresh berries, strawberries especially, because the tartness cuts through all that richness nicely. A drizzle of chocolate or caramel sauce over each slice makes it feel restaurant-worthy without any extra effort on your part. If it’s a summer gathering, iced coffee pairs shockingly well with a slice of this — something about the bitterness balancing the sweetness. For kids’ parties, a scoop of vanilla ice cream on the side turns it into a proper sundae situation.
Storage & Reheating
This keeps beautifully in the fridge, covered, for up to 5 days — not that it usually lasts that long in my house. You can also freeze individual slices wrapped tightly in plastic wrap for up to a month; just thaw them in the fridge overnight before serving. There’s no reheating involved here obviously, since it’s meant to be served cold, which honestly is half the appeal when it’s hot outside.
Cook and Prep Time
Prep time runs about 25 minutes, no actual cooking involved, and then a mandatory chill time of 6 to 8 hours, or overnight if you can plan ahead. Total hands-on time is short; the waiting is the hard part.
Nutrition Facts (Per Slice, Approx.)
Calories: 410, Fat: 29g, Carbohydrates: 33g, Protein: 5g, Sugar: 22g, Sodium: 260mg. These numbers shift a bit depending on which Oreos and cream cheese brand you use, so treat this as a rough guide rather than gospel.
Here’s something I didn’t expect when I first started making this no-bake Oreo cheesecake regularly — the texture actually depends more on how well you whip the cream than on the cream cheese itself. I used to think cream cheese quality was everything. It’s not. Properly whipped cream is what gives this whole dessert its lightness, keeping it from turning into a dense, heavy brick of sugar.
The one small change that made the biggest difference for me was folding the Oreo chunks in by hand at the very end instead of mixing them in with the beater. I used to just throw everything in the mixer together — turns out that was a mistake, because it pulverized the cookie chunks into dust and you lost that satisfying crunch entirely. Folding gently by hand keeps real bite-sized pieces intact, and that texture contrast is honestly half of why people love this dessert.
If I were making this again tomorrow, I’d probably double the crust. I always end up with slightly too much filling for the amount of crust I make, and the last bite or two of each slice ends up crust-less, which feels like a small tragedy. I’d also chill the mixing bowl beforehand next time — it helps the cream whip up faster and holds its structure longer once it’s in the fridge.
When I’m genuinely short on time, I skip making the crust crumbs by hand and just pulse everything in a food processor instead, cookies, butter, all together in one go. It’s not quite as evenly textured, but nobody at a party has ever complained, and frankly, most people are too busy going back for seconds to notice.
FAQ
Can I make this without a springform pan? Yes, a regular pie dish works fine, though slicing gets a bit messier since you can’t release the sides.
Why is my filling runny? Usually it means the cream wasn’t whipped to stiff peaks before folding, or the cheesecake didn’t chill long enough.
Can I use low-fat cream cheese? You can, though the texture turns slightly less rich and a bit more prone to weeping liquid over time.
How far ahead can I make this? Up to two days ahead works great, and honestly the flavor deepens a little by day two.
Final Thoughts
At the end of the day, this no-bake Oreo cheesecake recipe earns its spot as a go-to dessert because it’s forgiving, quick, and genuinely delicious without demanding much from you. It’s saved me more than once when plans changed last minute, and it’ll probably do the same for you. Give it a try before your next gathering — I really think it’ll become one of those recipes you keep coming back to, oven trouble or not.