
How Long Can Cookie Dough Sit Out before it goes Bad?

Nothing can compare with the scent of freshly-baked cookies that come out of the oven. If you’re making your own the cookies yourself, they may require several trays to transport all these delicious stuff in the oven to bake. What can you do with dough that you don’t need right now? And surely the question you would like to ask now is: how long can cookie dough sit out before it goes bad?
Cookie dough can be left out for between two and four hours at temperatures of room temperature. Once it is at the time, you can wrap it in plastic and place it in the freezer or refrigerator.
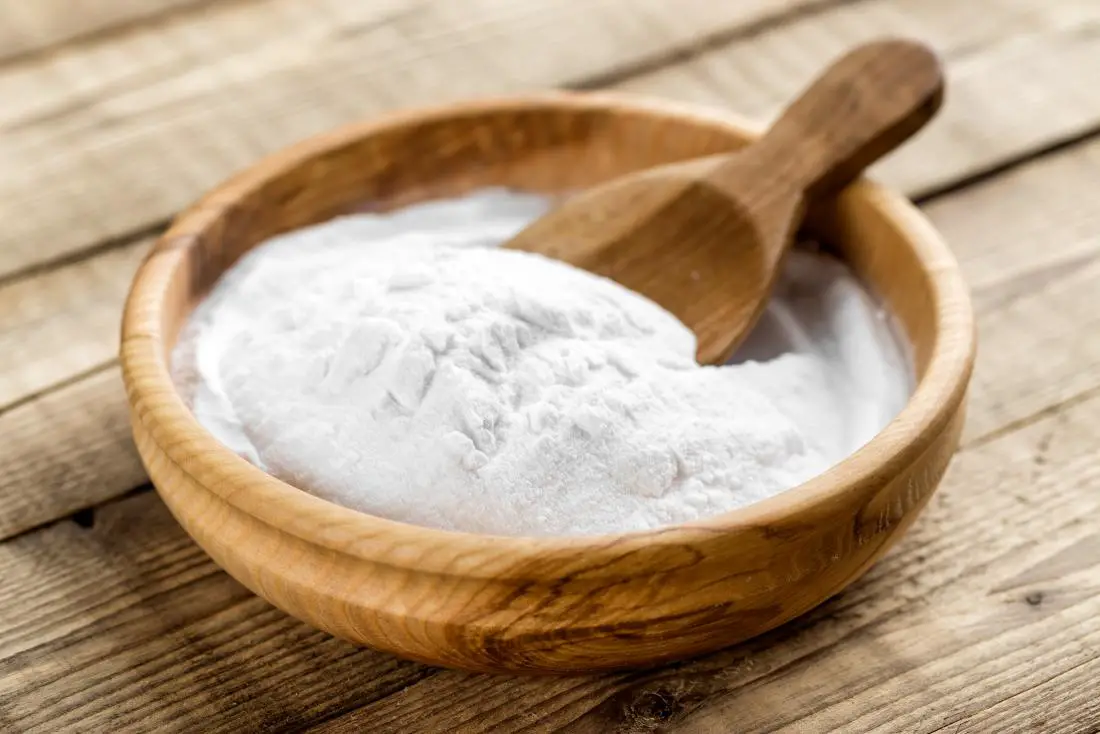
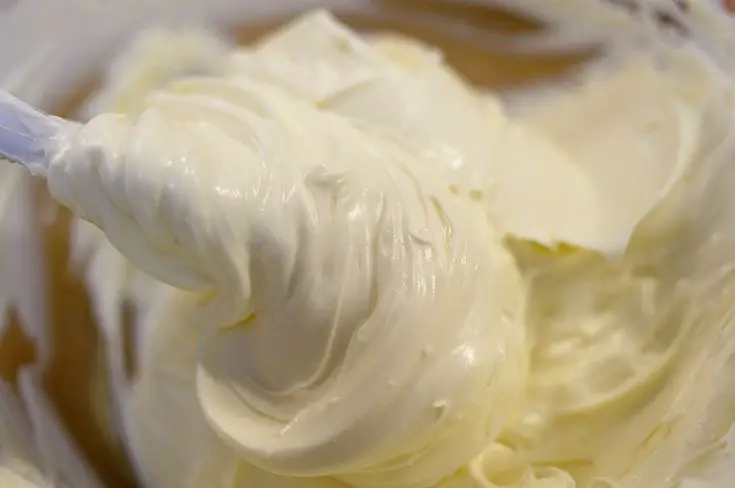
The main ingredients in your cookie dough include butter and eggs and both require refrigeration in order to avoid the dough from becoming spoiled and potentially leading to illness.
How Long Can Cookie Dough Sit Out Before it Goes Bad?
You might be thinking that the two-to-four-hour duration is dependent on the ingredients. There are certain things to keep in mind when baking cookies that contain eggs, you should keep the same time regardless of the type of cookies you’re baking.
A period of two to four hours applies to cookies that are left out on the table at room temperatures. If your surroundings are particularly hot (such as outdoors) then you might have to keep the dough for cookies in a refrigerator sooner.
It is recommended to place any dough left over directly in the freezer or fridge immediately after you’ve finished baking cookies. If you’re baking cookies in several batches, keep any remaining dough in the refrigerator as you are waiting.
The main thing to look for could be food poisoning if put out your cookie dough over a prolonged period. Bacteria can form on the surface of food items when they are left at the counter specifically things such as cookie dough. Baking might not be enough to get rid of these bacteria, leading to stomach discomfort and illness, as opposed to delicious cookies.
What are the Bacteria that can cause Food Poisoning?
Certain bacteria that may cause food poisoning are also fond to live on foods’ surfaces such as raw cookie dough. The two most prevalent ones are Salmonella (found within eggs) and Escherichia coli or E. coli (found in flour). Ingestion of raw cookie dough, or letting cookie dough sit out could allow these bacteria to multiply in food items and eventually cause you to become sick.
Perishable Ingredients in Cookies Dough
Which are the best loved cookies in America? Chocolate chip cookies are top of the list. Other favorite cookies comprise sugar cookie, M&M Cookies, as well as peanut butter cookie. Each recipe contains eggs, which are among the most perishable ingredients found in cookie dough.
If the cookie dough you are making is made using eggs, it’s particularly important to properly store it. This is also true for cookies made using flour. The best method to ensure that your cookies don’t become rotten is to treat each cookie dough recipe with the same care and then store the dough in the refrigerator for 2 to 4 hours.
How To Store Cookie Dough
To store cookie dough:
Make a big log or ball.
In cellophane, or the reusable wrap for storage
Place it in the refrigerator in a cool place, where it can be kept for up to 4 days. It will become harder which is great for cutting cookies. If you’re creating drop-shaped cookies you may remove the dough from the fridge and let it soften for about 15-30 minutes prior to baking.
It is possible to store the raw Cookie dough frozen for two months.
Tips: Save individual portions of dough for cookies in the freezer. Spread the raw dough on the pan, and then put it in the freezer for between two and four hours. After the cookies are frozen, you can put them in a freezer-safe storage bag to be stored in the freezer. If you’re looking for cookies the only thing you need to do is pick them up and bake!
How do you determine if the cookie dough is still fresh?
A quick visual test will usually suffice to confirm that the dough is in good condition. The signs of discoloration and mold are obvious signs that the dough needs to be removed. If the dough is solid in parts, or if it has an unpleasant, rancid scent throw it out also.
Cookies can be made in just a few steps with inexpensive ingredients, therefore it’s not worth putting your health at risk over it. Even if you’re strapped for time and prefer to use prepared dough from the store however, you can purchase the dough for a fairly affordable cost.
Can chilling cookie dough make a difference to the final product?
The addition of uncooked dough directly to the fridge is the best method to ensure food safety and also for baking delicious cookies. Though you may think of mixing cookies and cook immediately by chilling it, making the dough chilled will certainly improve the end result of your baked products.
How can cooling the dough improve its performance?
- Enhances flavor
The time you give the cookie dough in the fridge allows for the dough to be broken down to basic building blocks. This includes the simplest carbs (sugar). Sugar adds flavor to the dough and gives it sweetness.
The mix also gets dry, which might not be like a good thing. Actually, it can help to enhance the flavor and flavor of ingredients!
- Controls dough spread
When you cool the dough for cookies, you allow time for butter or other fats to set. The fat will keep its shape longer because it takes much longer for it to melt. It is the result that will be a cake that keeps its shape more effectively and does not expand out like a pancake that has been flattened. If cookies that are very flat are your preferred, then begin cooking the dough when it is warm.
- Improves texture
When the dough gets cool (and it dries completely) the sugars increase, making a more chewy texture, with crisp exterior. The most sought-after cookie for many!
Instead of putting your cookie dough on the kitchen counter for an hour as you’re distracted by your chores, kids or your favorite TV show take it out and put the delicious mixture into the refrigerator. Most people will prefer the final result of chilled dough is likely to be the most preferred.
Homemade vs. Store-Bought
If you bake cookies from scratch, you can determine precisely what ingredients are used in them, and you can be alert. Most cookie doughs made from pre-made doughs include an ingredient list printed on their packaging, so you know for certain whether they’re made from dairy or eggs. If you’re unsure it is, make sure to treat it as though it was made from dairy and eggs. This can help avoid food poisoning and possible allergens.
How Long Does Cookie Dough Fresh at Room Temperature?
If you bake cookies, any dough left uncooked will remain in the preparation bowl as your first cookie batch is baked and cooling. Unless you’re operating a walk-in refrigerator which means the dough for cookies is sitting at temperatures of room temperature. The dough for cookies can be left in the room for anywhere from two to four hours. However, the quicker you can store it in the refrigerator, the more efficient.
Tips: Spread the extra dough for cookies on an additional baking sheet. After the first batch is baked and cooling, put the second tray in the oven for baking.
How To Store Raw Dough?
When you have reached the conclusion of your two-to-four-hour period, you’ll have to keep any dough that is not used in the freezer or refrigerator. Depending on when you’ll plan to bake cookies, it might be better to store them in the refrigerator, or keep them over the long haul inside the freezer.
The best method of storing the cookie dough is to seal it to ensure freshness. It is possible to put the dough in airtight containers, covering them in cellophane or placing the dough in an airtight freezer container. If you decide to put cookie dough into bags, be sure that you press all the air before sealing.
Does Cookie Dough Work if It’s Left Out All Night?
When you’re in a baking (and eating) exuberance, you may overlook that you have leftover cookie dough. If it’s left to sit out for an extended period of time does it remain safe to consume? Unfortunately, no. Cookies left out over night is certainly out longer than the recommended 2 to 4 hours. It must be thrown away.
Making your cookie tray in one go and keeping the leftovers in the freezer or fridge is a great method to avoid forgetting the dough in the fridge overnight.
Storing Baked Cookies
After you’ve made cookies, you don’t have to take similar precautions to avoid food poisoning. Cookies can be kept in a cool, dry place but they must be wrapped in plastic or sealed to ensure their freshness. Cookies can be stored in the fridge for them to stay fresh longer.
Tip: Put a slice of bread inside the airtight container and add the cookies. Cookies will absorb moisture of the bread, making them more soft over time.
How Long Will Cookie Dough Last if it is not refrigerated?
In the refrigerator cookies can last for two to four hours before being at risk of becoming stale. It will differ based on the temperature in your space, with higher temperatures causing the cookie dough to spoil quicker. If you’re not sure you’re in the right place, keep to the 2-hour duration for dough that is not refrigerated.
Food poisoning from cookies Dough
Infections after eating cookies could be a possibility and the chance of getting sick increases the longer you let cookies out. If you consume cookie dough that’s become rotten, you may be ill with food poisoning. Although it’s not usually dangerous, food poisoning is sure to affect your plans for fun.
The Bacteria That Are Harmful in Cookie Dough
If you keep cookie dough for longer than the suggested maximum of 2 to 4 hours, it could be a home for bacteria that can cause food poisoning. There are some specific culprits that could be identified in cookie dough when it becomes rotten.
It is recommended to store your dough in the refrigerator within 2 hours of making it is the most effective method to safeguard yourself from the bacteria that cause the symptoms of food poisoning that accompany the symptoms.
Salmonella enterica and Escherichia coli in Wheat Flour
The same bacteria can be present in a variety of ingredients that make up cookie dough. This is why it is best to avoid the consumption of raw dough, unless specifically designed to be eaten without baking. As per the Center for Disease Control, these bacteria can be destroyed during the baking process so long as the raw dough was stored in a safe manner.
What happens if you contract Food poisoning from Cookie Dough?
If you eat cookies that are contaminated or dough for cookies you may feel effects of food poisoning.
- Stomach upset
- Stomach cramps
- Nausea or vomiting
- Diarrhea
- Fever
Sometimes these bacteria can cause infection that can be dangerous or grave. However, every person has different experiences. Some people can get over such slight sickness easily, while people may become severely sick. If you’re lucky enough to get a slight infection from food, it’s still less fun than eating the perfectly safe cookie.
Food poisoning may be light and relatively brief-lived (just an hour or two) or last for several days. Food poisoning is usually cured in its own time when the food that is poisonous passes through your digestive tract.The biggest threat to your health is getting dehydrated. If you have a fever that exceeds 105 F or you are unable to keep any liquids within your body, then it’s time to consult your physician to be checked.
Consuming raw cookie Dough
It’s tempting to eat the raw cookie dough while baking. The dough hasn’t been in the oven for more than two hours therefore you’re safe you think? It is not recommended to consume cookie dough that is raw. Certain ingredients can result in food poisoning. Eggs that are raw can be contaminated with salmonella, as I have already mentioned, and eating raw cookie dough could transmit harmful bacteria to your body.
If you’re craving for cookies that are raw, search a product advertised for eating raw. They can be found at the dairy aisle of the supermarket and are usually refrigerated. They’re typically egg-free and have special-treated flour that makes them free from any harmful bacteria.
Cookies Dough Recipes
Apart from traditional cutout or drop cookies, you can create exciting cookies from cookie dough.
Cookie Pizza Bake: is a large cookie on the bottom of the pizza pan. Serve with yogurt and slices of fruit. Serve in triangle pizza slices for a fun variation on pizza.
Ice cream sandwiches: Prepare cookies as normal and then apply ice cream to one of the cookies. Then, top it with another cookie and then enjoy!
Cookie Dough Ice cream: Stir your favorite raw cookie dough to vanilla Ice Cream. Make sure that you make use of cookie dough that has been intended to be eaten in raw form.
Cookie Dough Brownies: If you’re stuck between a cookie and brownie. Why not have both? Mix brownie dough and cookie dough batter to create a delicious and delicious baked dessert.
Frequently asked questions
Do edible cookie doughs have to be stored in a refrigerator?
The edible cookie dough shouldn’t be kept in the refrigerator for more than 2 hours. The storing of food that is perishable at temperatures of 40 to 140F for more than two hours increases the risk of illness resulting due to the growth of bacteria.
Does cookie taste remain acceptable if it’s left out over night?
Cookie dough that’s been left out for a night shouldn’t be eaten in its raw state. If the ingredients aren’t degraded, cooking the dough thoroughly can kill any bacteria.
Wrapping up
Cookie dough is able to sit for up to 4 hours before it begins to go bad. It’s recommended to follow this advice for all cookie doughs, whether homemade or purchased from a store, however you must be especially careful with dough that is made with flour or eggs. If you happen to get food poisoning due to cookie dough, wait until the symptoms go away and keep an eye on yourself for dehydration.
Make sure you take extra care the next time you bake, and enjoy cookies, not battling an upset stomach.
Cookie dough is simple to make and isn’t too costly to buy from the supermarket, so don’t be taking any chances. If you’re not sure, throw it away.
Are you ready to get to work at the table? Explore your creativity by making these delicious chocolate chip cookies that everyone would drool over and ask for more!


 Do chickens have breasts?
 Tamales?


 eached?