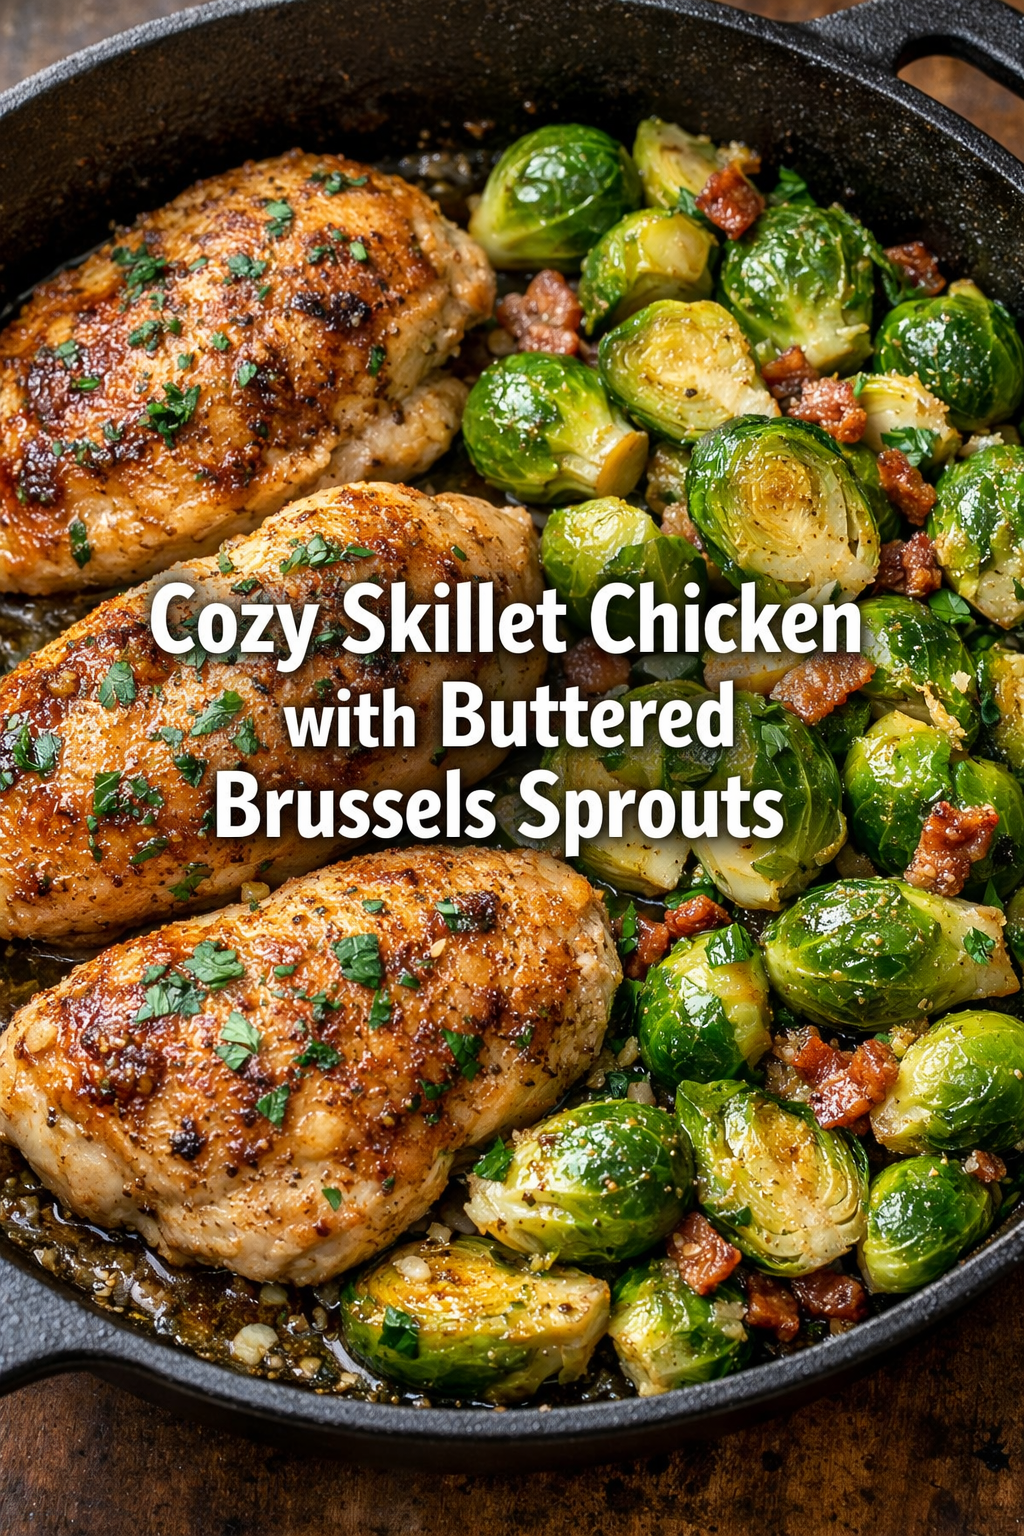
Cozy Skillet Chicken with Buttered Brussels Sprouts
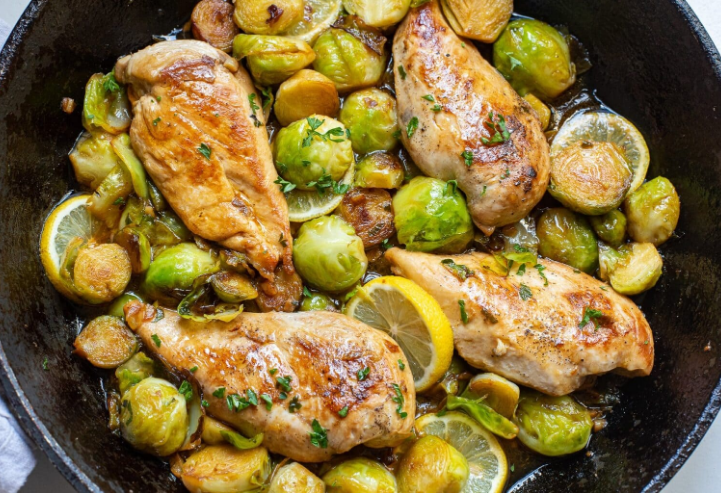
There’s a certain kind of evening when I don’t want to cook, but I also don’t want to give up and eat something random. That’s usually when Cozy Skillet Chicken with Buttered Brussels Sprouts shows up. It’s not flashy. It doesn’t look impressive halfway through. But it smells right, cooks quietly, and ends up feeling like dinner actually mattered.
This is the kind of meal I make when the kitchen light feels too bright and the day has already used up most of my patience. One skillet. Familiar ingredients. No rush. Or at least, no unnecessary rush.
Why this one sticks around
Some dishes earn a place just by being dependable. This is one of them.
Everything happens in one pan, which already makes it more likely I’ll cook it again. The timing isn’t fragile either. Brussels sprouts don’t fall apart if they sit a little longer, and chicken — especially thighs — can handle a minute or two of distraction.
It’s also quietly seasonal. Nothing about it screams winter, but it feels right when it’s cold out. Warm food. Steady flavors. No tricks.
Ingredients (nothing complicated)
Here’s what I use most nights:
-
4 bone-in, skin-on chicken thighs (boneless works too)
-
1 pound Brussels sprouts, trimmed and halved
-
2 tablespoons olive oil
-
2 tablespoons unsalted butter
-
3 cloves garlic, minced
-
Salt and freshly ground black pepper
-
Optional: a pinch of thyme or paprika
-
Optional: a squeeze of lemon at the end
That’s really it. Nothing fancy hiding in the background.
How I think about the ingredients (on a normal day)
Chicken first. I almost always reach for thighs here. They stay juicy, even if I misjudge the heat or look away longer than planned. Breasts work too, but they make me slow down, and some days I don’t want to slow down.
Brussels sprouts are the obvious partner. I trim them, slice them in half, and don’t try to make them uniform. Some end up thicker, some thinner. They cook differently, and I like that.
Butter matters more than I expect every time. I’ve tried leaning harder on olive oil alone, and it’s fine, but butter gives the sprouts that soft, nutty edge that makes the whole dish feel calmer.
Garlic shows up most of the time. Sometimes shallots instead. Salt and pepper always.
That’s the whole story.
Starting without making it complicated
I prep the Brussels sprouts first. Trim, halve, quick rinse, then dry them properly. Wet sprouts don’t brown, and I’ve learned that lesson more than once.
Chicken gets patted dry and seasoned simply. Salt and pepper. Occasionally paprika. I don’t marinate for this. The skillet does enough on its own.
Everything stays close to the stove. Fewer bowls means less irritation later.
Cooking the chicken (and resisting myself)
The skillet goes on medium-high heat. A little olive oil goes in first.
Chicken goes in smooth side down, and then I make myself stop touching it. This is still the hardest part. If I move it too soon, it sticks. If it sticks, I get annoyed. If I wait, it releases on its own.
Once both sides are nicely browned — but not cooked through — I pull the chicken out and let it rest. The pan looks messy. That’s good. That’s where the flavor is sitting.
The Brussels sprouts take their turn
I lower the heat slightly before adding butter. It melts, foams, and smells like it’s doing something useful.
Brussels sprouts go in cut-side down. They sizzle. I let them sit longer than feels comfortable. Stirring too early ruins the color.
After a few minutes, I stir, add a pinch of salt, and let them cook again. Some pieces brown deeply. Others soften more. I don’t try to fix that.
Garlic goes in near the end. Just long enough to lose its bite. Burnt garlic doesn’t belong here.
Bringing everything back together
Chicken goes back into the pan, tucked in among the sprouts. Any juices from the plate go in too. I don’t waste those.
I lower the heat, cover the skillet, and let steam do the quiet work. A few minutes is usually enough to finish the chicken and soften the sprouts just right.
I uncover, taste, and adjust. Maybe more salt. Maybe pepper. Occasionally a squeeze of lemon if everything feels a little heavy. Sometimes I skip it.
By now the kitchen smells settled. Like dinner is actually happening.
Mistakes I’ve already made so you don’t have to
I used to crowd the pan because I didn’t want to wash a bigger skillet. Everything steamed instead of browning. It still tasted okay, but it wasn’t the same.
I once added butter too early and burned it while browning the chicken. That bitterness never left the dish. Now I wait.
And I learned not to oversalt at the beginning. Brussels sprouts release moisture, and seasoning intensifies as they cook.
Variations I actually use
If I want extra richness, I finish with a small dusting of Parmesan. Not much. Too much changes the whole tone.
A splash of balsamic vinegar at the end works when I want contrast. I don’t always want that, but sometimes it’s perfect.
If I want it heavier, I add cooked potatoes to the pan. Not every time. Only when I know I want something more filling.
I’ve tried adding bacon. It’s good, but it takes over. I don’t reach for it often.
Storage and leftovers
Leftovers keep well in the refrigerator for up to four days.
I reheat them in a skillet over medium-low heat with a small splash of water if needed. The sprouts soften a bit more the next day, but the flavor holds.
Microwaving works too, though the chicken skin won’t stay crisp. I’ve frozen it before, but Brussels sprouts lose some texture after thawing, so I usually just make what I’ll eat within a few days.
Final thoughts
I keep making Cozy Skillet Chicken with Buttered Brussels Sprouts because it fits real evenings. It doesn’t rush me. It doesn’t demand precision. It just rewards paying attention when I can.
It’s quiet food. Reliable food. And on most nights, that’s exactly what I’m cooking for.